Recipes
Easy treats and appetizers to make the most out of entertaining!
-
Easy Almond Poppy Seed Muffins Made From Scratch
-
Easy Chocolate Zucchini Bread Recipe for Baking Addicts
-
Delicious Broccoli Salad with Craisins and Bacon
-
Easy Instant Pot Chicken Taco Soup in 25 Minutes
-
Grandma's Old-Fashioned Potato Salad in 5 Easy Steps
-
Easy and Delicious Peanut Butter Fingers Recipe
-
How to Make Crispy Oven-Baked Parmesan French Fries
-
How to Make an Easy New Year's Eve Charcuterie Board
-
Old-Fashioned Soft Sugar Cookies Made From Scratch
-
Insanely Delicious Christmas Crack Chex Mix Recipe
-
Delicious Toffee Apple Dip With Only 5 Ingredients
-
Easy Charcuterie Board Ideas for Teens and Kids
-
Easy Lima Bean Goulash For the Whole Family
-
Red Onion Vinaigrette and a Strawberry Salad
-
How to Make a Homemade Gingerbread House with the Best Frosting Ever
-
The Easiest 2 Ingredient Homemade Extracts (Vanilla & Almond)
-
Easy Delicious Chocolate Caramel Apples (with Recipe)
-
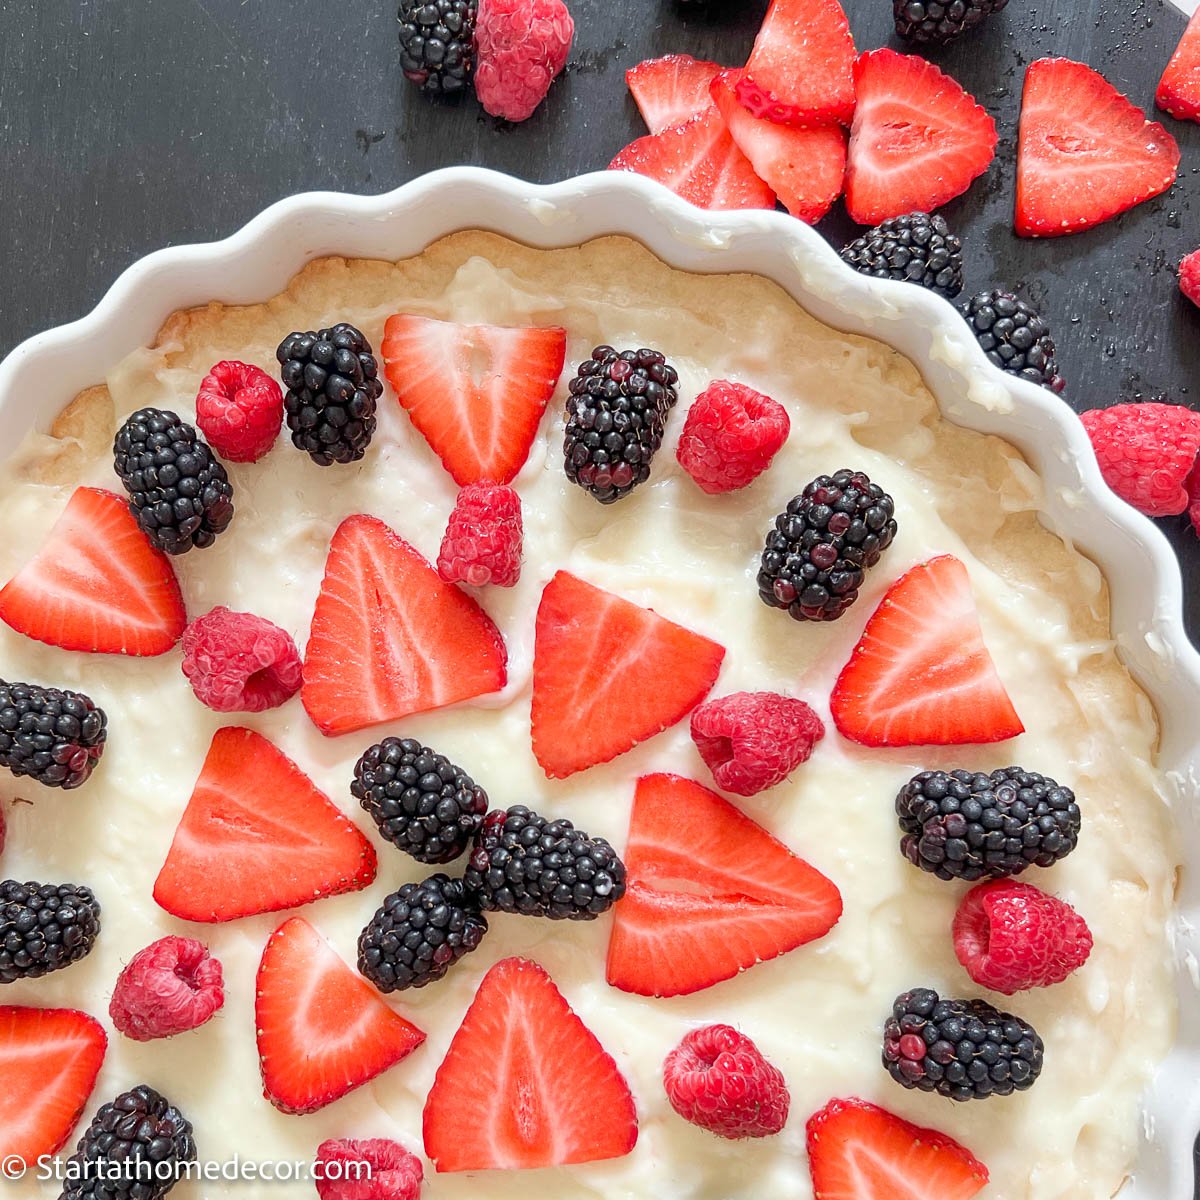
Fruit Sugar Cookie Pizza
-
Yummy Cheese Ball with Jalapeños
-
Cookie Sheet Cream Cheese Sugar Cookies
-
No Bake Cheesecake
-
Valentine's Day Desserts
-
Hershey Kiss Blossom Cookies
-
Favorite Keto Desserts
-
The Yummiest Snickerdoodles
-
Easy Kid Friendly Summer Snacks