
Give your old furniture a complete overhaul by using a simple and easy wood bleach process.
Do you want to give your old, wooden furniture a fresh and modern look? Look no further! Bleaching wood furniture is a simple and effective way to transform your home decor. From removing stains to lightening the color of the wood, this technique can revive tired and dated furniture.
In this article, we will walk you through the steps of how to bleach wood and provide tips and tricks to ensure your project is a success. So, let's get started on brightening up your space with this handy tutorial on using wood bleach to transform that old furniture piece.
Bleaching wood is a great way to update a furniture piece. Bleaching is a process that lightens the color of wood through a chemical process. My husband had an old desk he used when he was a teen. It is a beautiful oak desk that matched the style in Little Buddy's new room. However, I didn't love the vintage oak wood tones. However, bleaching red oak can help to remove the reddish/orange tones that date this type of wood.
If you want to try out this method, use an old piece of furniture or try to find something at a garage sale or Facebook Marketplace to start.
Different Types of Wood Bleach
There are several options for using wood bleach to remove stain.
- Chlorine bleach - Helps with old stain that is left in the wood, but it does not actually change the color of the wood.
- Placing in sun with chlorine bleach - Did have a slight overall lightening effect, but uneven and applying household bleach to wood is hard on wood. Placing wood in the sun is also hard on wood. Combining both is really hard on your piece of furniture.
- Borax solution and a scrub brush - this worked well on small decorative wood items, but I wouldn't use it on a large piece of furniture.
- Oxalic acid wood bleach - Not my favorite because it is pretty toxic.
Most of these options left me not wanting to use these methods again, so I started doing some research to find an alternative option to bleach my wood project.
The Best Way to Bleach Wood Furniture
Not only did Zinsser wood bleach work the best, but it also wasn't hard on the wood. I even had success on both hard woods and soft woods.

Supplies Needed for Best Results
- Zinsser Wood Bleach
- HomeRight paint sprayer or paint brushes
- Sander
- Sandpaper
- Primer
- Paint
- Matte top coat
View My YouTube Video Here
Watch my YouTube video for how to use this wood bleach.
How to Bleach Wood with Zinsser
1. Prep Wood to Bleach
First step, start out by using 120-grit sandpaper to sand down the entire work surface to be bleached. You can use a sanding block, a sander or just sandpaper depending on how big your piece is. The top of this desk is a wood veneer so I didn't want to sand it too much.
When sanding, go with the direction of the wood grain. Make sure to get all of the old top coat off. In order for the bleaching process to work, you must put the wood bleach on raw wood. If you don't, the bleaching solution will not be able to soak into the wood.
Once it is sanded down wipe all of the dust off.
2. Applying Zinsser Wood Bleach Solution
Zinsser's wood bleach has two different solutions. One is sodium hydroxide and the other is hydrogen peroxide. When the two of these mix together on wood they create a chemical reaction that bleaches out old stain and alters the color of the wood.
Make sure to read the instructions on the box carefully. To mix up the solution, wear rubber gloves and use a plastic container. Also consider eye gear in case of splashing.
First, apply solution A with a brush. Let it sit on there for 5 to 10 minutes (make sure it stays wet the whole time).
Next step, apply solution B. You will instantly be able to see it is working. Let it sit over night and then you will see an amazing transformation the next day.
3. Repeat Process if Needed
The next day I noticed a few blotchy areas on the desk wood. This may require you to repeat the process to achieve your ideal coloring. I bleached the top of the desk again and this time around I got a much more even color.
4. Sand
When bleaching wood it can cause the grain of the wood to raise slightly. After the bleach is all the way dry, I use 220 grit sandpaper to smooth out the entire surface.
5. Seal Bleached Wood
I love the wood's natural color. To seal this desk I am going to use a clear top coat. When applying a sealer it will darken your wood. The best way to know what color your wood will be after it is sealed is to apply a bit of water to the top.
Wax Top Coat
If you do not like the color it is with the water, try a wax to seal. A wax sits more on top of the wood, so it doesn't cause quite the color change as a clear coat. You can also buy dark and white waxes.
Spray Lacquer
To seal this desk I used a matte lacquer spray. Matte spray doesn't seem to darken quite as much as a semi-gloss. I like to use a top coat in a spray because it is easy to apply and looks the best. I gave the top of this desk 4 coats of lacquer.
Wood Bleach Desk Results
The bottom of the desk is what the natural wood color looked like before bleaching. The top is after it is all bleached and sealed. What a difference bleaching bare wood makes! Instead of red oak it looks much more like the white oak I have throughout my house.
How to Paint the Desk Bottom
After the bleaching wood process was done, I opted to paint the bottom of the desk.
Prepping Furniture for Paint
First, tape off the desk top. When you sand down the bottom you don't have to sand all the top coat off. You are just trying to rough up the top coat enough so your paint will stick better.
I used 80 grit sandpaper on my orbital sander. Run the sander all over the piece of furniture until you have sanded every inch. Once sanded, wipe everything down to remove the dust.
Prime Furniture
I recommend ALWAYS priming raw wood, even though paint has a primer in it. You will always get a better finish if you prime first. Priming helps to control wood bleeding. I like to use Zinsser's primer because it is affordable and does a great job. If your wood is still bleeding through your primer you have 2 options.
- Use an oil-based primer. Kilz has a great one at Home Depot
- Spray the bleeding areas with a clear shellac
Either one of these options will seal your wood.

Paint Furniture
After the primer is dry, use a 150 grit sanding block to smooth everything out. This will help to achieve an even smoother painted surface.
Then use a sprayer like my HomeRight sprayer to spray the base of the desk. I sprayed it with Peppercorn by Sherwin Williams. I gave it 3 coats, sanding in between each coat.
Once the paint was all dried, I pulled off the tape and moved it up to the room. I also built Little Buddy a nightstand for the other side of his bed. You can view the full tutorial here.

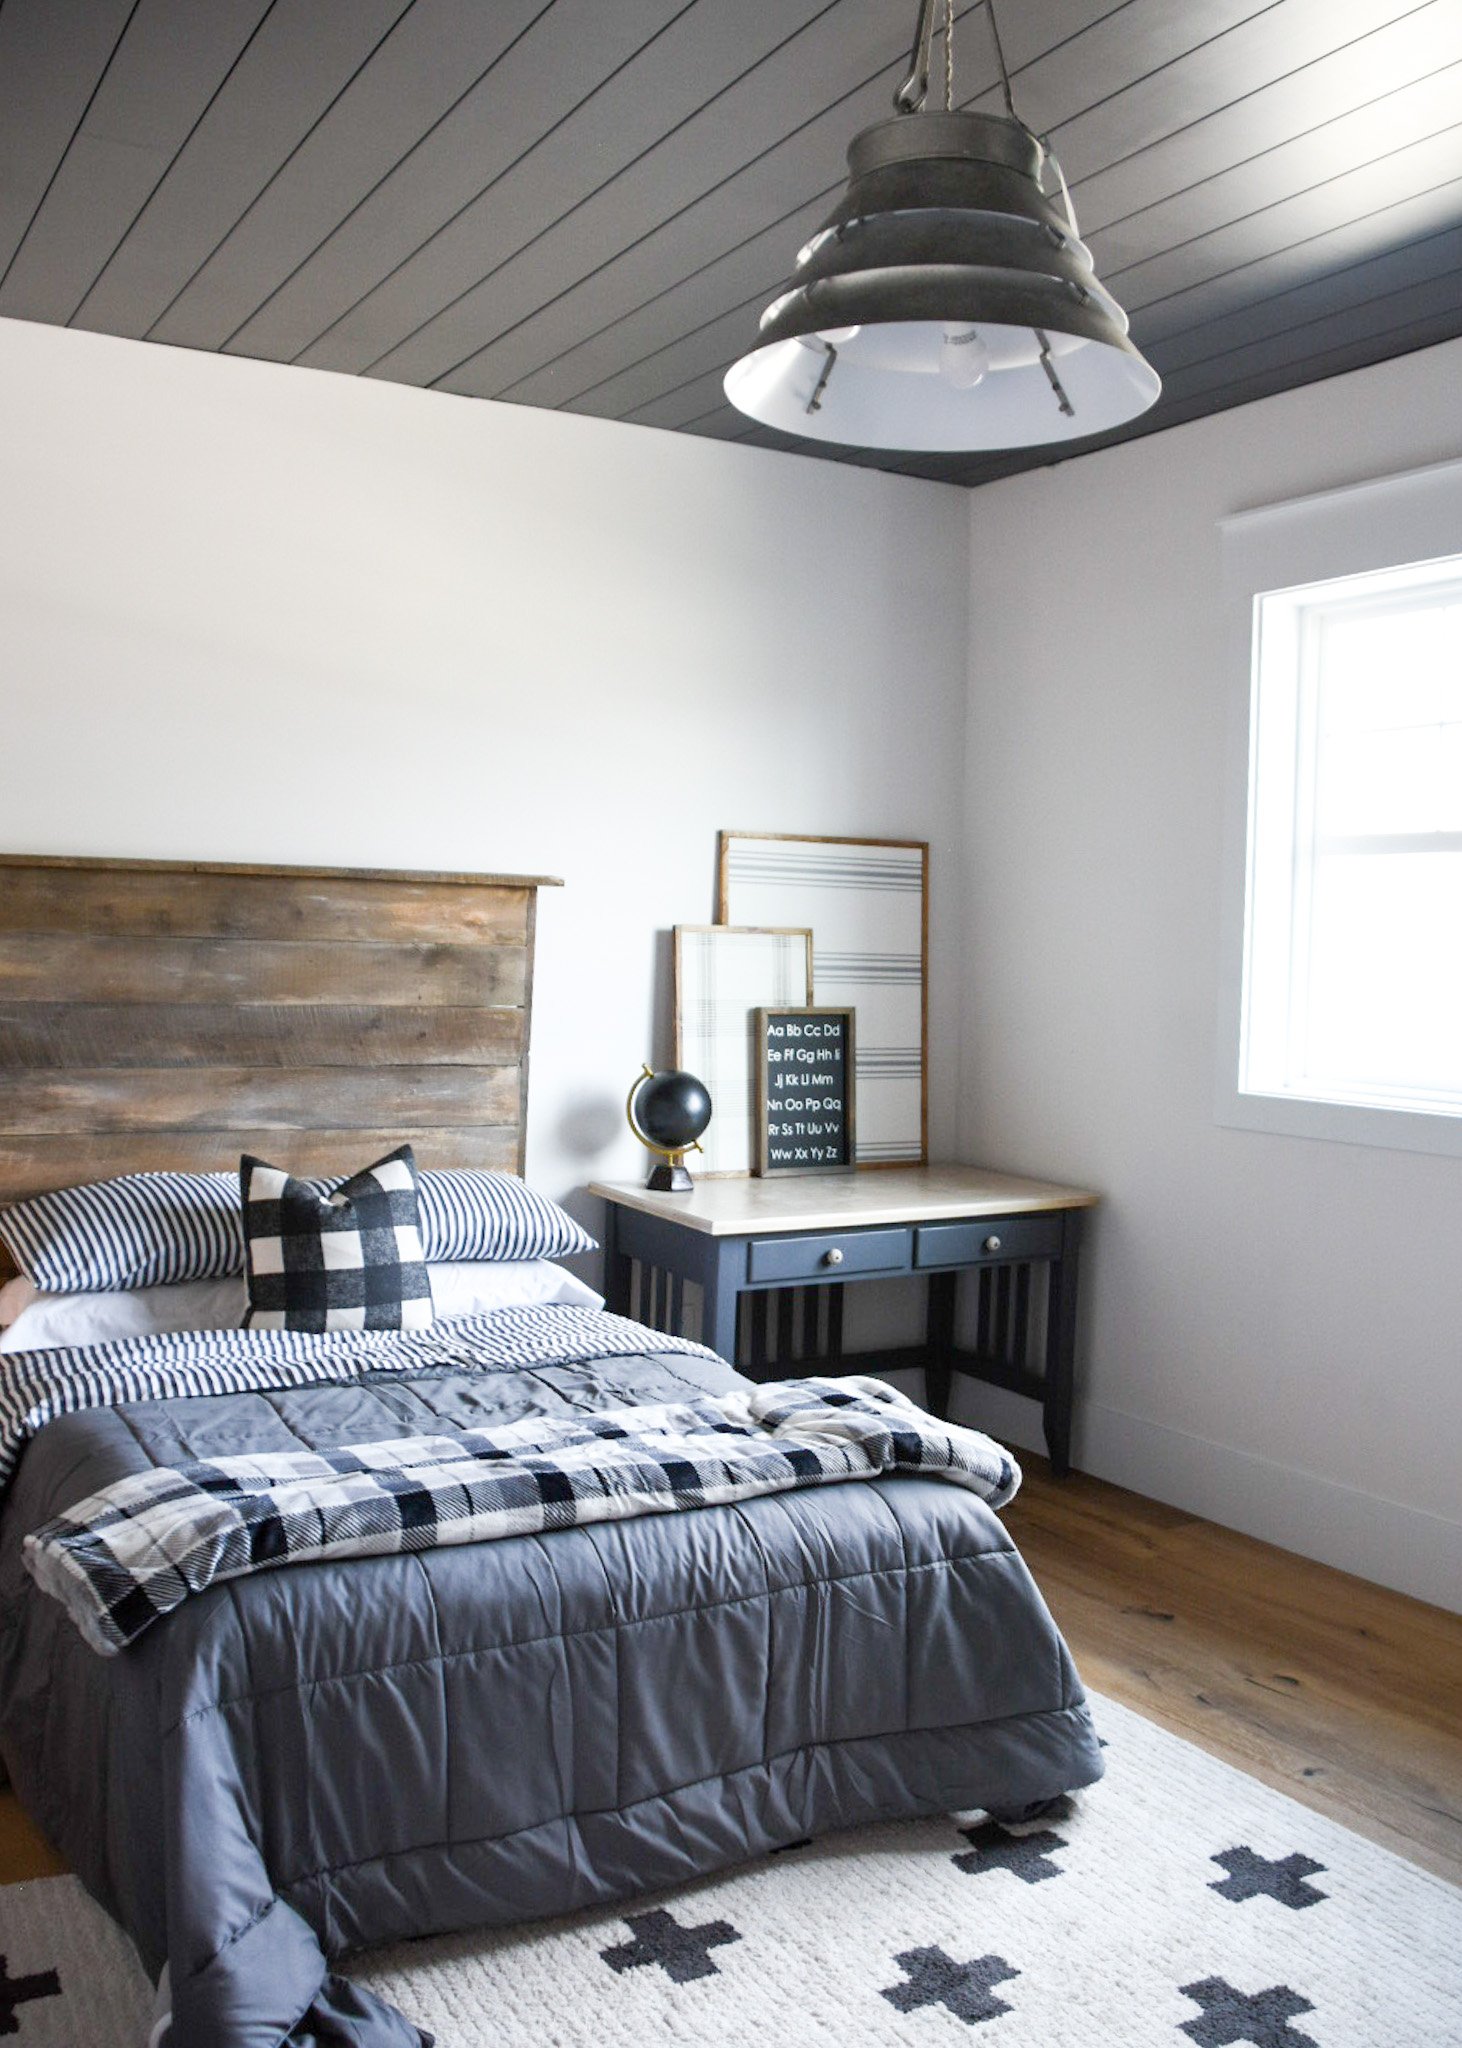
Desk Area
Here is the fun desk area I created for this bedroom. I made the signs with napkins (tutorial here) and found a big chalkboard for the back.
I always feel like decorating a boy room is a little bit harder than a girl room. I try not to add all the fluffy stuff I normally would and instead add some fun design elements into the room.

We added fun designs like his shiplap ceiling (tutorial here) and a built-in bunk bed (tutorial here). I painted all of these elements the same bold color as the desk. This makes it so they stand out but all work together.
Wood Bleach Desk
Bleaching wood can give a fresh update to your old wooden furniture. Try out this easy tutorial for a fun transformation to modernize your space.
You can also check out my other Zinsser project here for more details on bleaching!
Happy DIYing!
Brooke


Sherron says
Looks beautiful! Do you think it would work on cherry wood?
cindy says
Nice. I wondered how that was done. Thanks for the tutorial.