This mantel used to be in our old home. Since is was freestanding we got to bring it with us. Now I can use it in our new home too!! Hip Hip Hooray. But first we need to update it with Zinsser wood bleach.
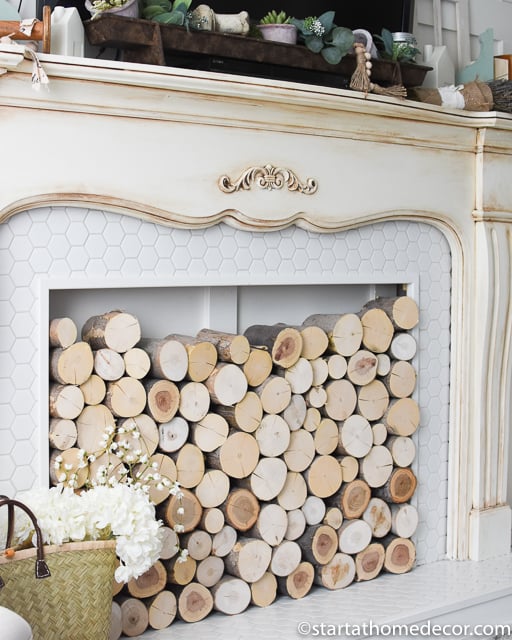
My hope for my new home is to create a cottage feeling home. This mantel has the perfect curves and details to fit right in. I bought this mantel at a vintage market a few years ago. It was painted at the time and then I painted it again. (cause I repaint everything at least twice) For our new home I was wanting a wood, white oak mantel. This mantel is wood... and oak... but it is red oak instead of white oak. Did you know if you bleach red oak you can actually pull the color out of it to create a white oak look? Let me show you how.

Complete Guide On Using Zinsser Wood Bleach
First, if there is paint on your piece you will need to strip the paint off. You can view my tutorial on stripping furniture here.
If there is no paint on the piece then you want to start by sanding down your piece. If there is a top coat you want to get it all off. In order for the bleach to work it has to be able to soak down into the wood.
Supplies for Bleaching Wood
- Wood Bleach (order here)
- Sandpaper - 220 grit
- Gloves
- Sponges
- Plastic or glass bowls
- Liming wax to seal
- Wax Brush
Why use Zinsser Wood Bleach
I did try to use Clorox beach to bleach the wood first. I did notice it bleached the stain out a little bit, but that kind of bleach will not bleach the natural coloring of wood.
You need a “Two part” A/B peroxide-based bleach. They include sodium hydroxide (caustic soda) and hydrogen peroxide. Combined, they cause a chemical reaction that creates bleach that will blanch the stain color and can also alter the color of the wood itself.
I found this really easy to apply. You want to make sure you have gloves for this part. You don't want this stuff to get on your hands. (read the box first for any additional instructions.)

How to Apply Zinsser Wood Bleach
Pour solution A into 1 of the plastic or glass bowls. Take your sponge and soak up the solution. Now rub it on to the wood. You want your wood to be good and soaked. Allow the solution to sit for 5 to 10 minutes.

After 5 or 10 minutes pour solution B into the second plastic or glass bowl and use a new sponge and soak up solution B. Next rub it on the wood, again soaking it. Once you have applied it every where. Let it sit and watch how it bleaches!

I did have to go back and spot bleach a few areas the next day. Boy, oh boy does this stuff work!

Once everything has dried you may notice the grain of the wood has raised slightly. Thats normal! Just take your 220 grit sandpaper and smooth everything out!

There you can see how awesome Zinsser wood bleach is. I wanted my mantel to have a slight white washed look. To achieve this I used a liming wax and applied it to my mantel. The liming wax also sealed the mantel so it is good to go!

I can't wait until our new home is done and I can move this mantel into its new home!
Join the newsletter
Subscribe to get our latest content by email.


Aimee D. says
This looks wonderful! I may have to try it!!
Aimee D./St George, UT