Update your damaged dresser top with this easy tutorial.
Have you ever had to replace the top of your dresser due to cuts, scratches or damage? A dresser has the potential to be a great piece of furniture, but the entire top can easily become a victim of wear and tear over time. Replacing the top of the dresser is a great way to give an old piece of furniture a second life, or to add pizzazz to a new one.
Easily learn the steps, tools and materials necessary to replace that old dresser top. You will also learn tips and tricks to make the process smoother and easier. Make a vintage dresser look indistinguishable from a brand new one with this dresser makeover.
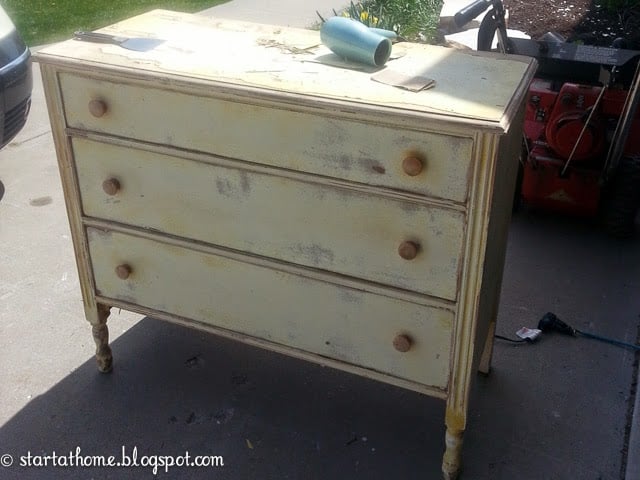
A big part of refinishing furniture is facing the unknown. You never know what condition your piece may be in until you really get in there. When I tackled this wood furniture project, I was hoping to rip off the top layer of damaged veneer and find a beautiful piece of solid wood. Unfortunately this wasn't the situation.
After many wasted hours I determined the best choice was to remove the entire dresser top. Replacing the top of a dresser is something I had seen others do, so I decided to give it a try too.
Replacing a Dresser Top - DIY
My original idea for replacing the top of the dresser was to use pine wood planks. I figured I could just set them close enough to each other to help close any gaps, and then I found this awesome product at Lowe's. I discovered a pine panel that was already jointed together and ready for a project.
Supplies You'll Need
- Pine panel from Home Depot, Lowe's or another hardware store
- Saw for cutting down to size
- Wood stain or paint
- Paint brush
- Rags
- Wood glue
- Nail gun and finish nails
- Wood filler, optional
How to Replace a Dresser Top
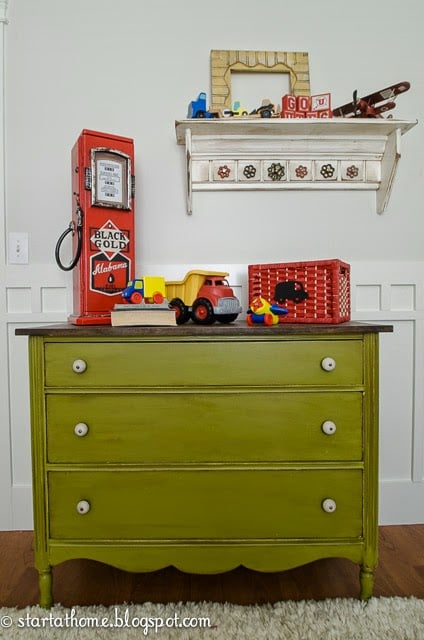
Cut to Size
First step to replacing your wood top with other dresser alternatives is to purchase a pine panel and cut it down to size. Hang on to the previous top if possible so you have a comparison for measurements. If you no longer have the top, make sure to leave some overhang when cutting the new top.
Optional Sanding
If your pine panel is bare wood, you also might need to do a light sanding with fine-grit sandpaper for a smooth finish after cutting and before applying a finish. Make sure to sand in the direction of the grain. Use a clean rag to wipe off any dust before applying paint or stain.
Stain or Paint
After the top is cut down to size, stain or paint panel with desired color or stain. If you decide to use paint, you can apply a coat of primer, but it isn't a necessity on bare wood. You can use latex paint, milk paint or chalk paint for variety, but make sure to apply a protective top coat for longevity.
I prefer the use of stain on real wood and went with Dark Walnut stain by Minwax for a dark brown palette. Apply stain to the panel top and let it soak into the wood grain. Use a rag to wipe off excess stain. Let it mostly dry before applying a new coat of stain, to determine how dark you want the wood to be. Follow the instructions on the label.
Protective Finish
The next step is to apply a protective finish over the stain. This is a good way to prolong longevity for the furniture finish.
Apply Glue
Once the stain and top coat are dry, it's a good idea to apply glue to the dresser and the underside of the new top for extra hold. Place it on the dresser.
Use a Finish Nailer
Once the panel is in place, use a finish nailer to nail all four corners to give it added strength. If painting your top panel, you may want to paint after the panel is in place to cover any nail holes.
Dresser Finishes
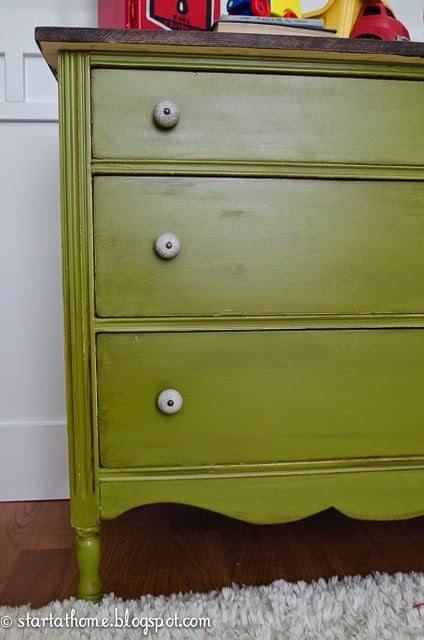
Here are some dresser alternatives in color and style for this traditional dresser. This piece was the perfect fit to start a small bedroom. I opted for green paint colors before eventually landing on a blue grey palette for our family room.
I sprayed the entire dresser and then used a tintable oil-based glaze. Glazing is one of my favorite parts of refinishing furniture. It can make or break any piece. And when done right glaze adds so much depth to a piece by accenting all the details and bringing so much character!
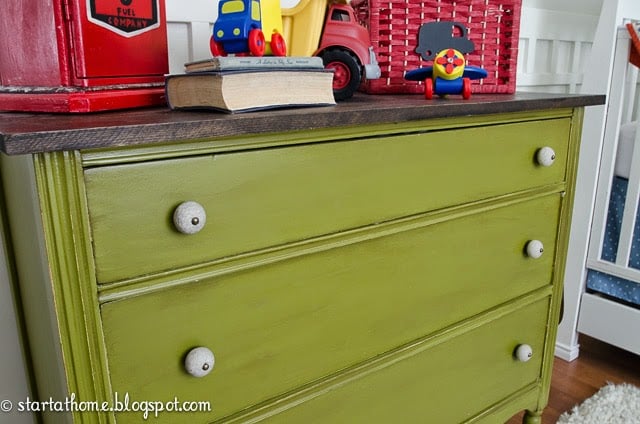
I changed color tones for moving the whole piece to another room. I kept the top the same and only adjusted the body of the dresser.

Other alternative table tops can be using pallet wood. I took an old sofa table and created a pallet table top to replace the old glass that had been there. This was the perfect way to modernize a table with a farmhouse style.
Replacing the top of a dresser is an excellent way to give a piece of furniture a new life without having to buy something brand new. It’s an easy, cost effective and creative solution. This dresser turned out fabulous. Altering the top of a dresser is a simple process that drastically changes the outcome of your furniture.

Happy DIYing!
Brooke

The Crowned Goat says
I can't believe you have time to paint! This trasformation is fantastic. I hope he's settling in well and the girls are in love.
Laura says
OMG! You just saved me. I have had 2 dressers waiting for tops because I ran into the same problem with laminate tops. I have never seen this product till now!