
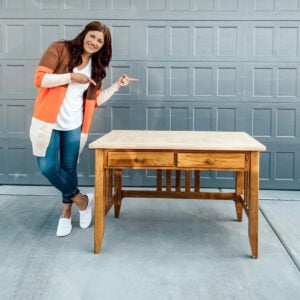
Renovate that old sofa table and transform it with a new pallet table top.
Instead of getting rid of your old sofa table, why not save the expense of purchasing new furniture and try renovating? Restoring an existing piece of furniture can save a lot of money on total costs. And customizing to personal preference like farmhouse furniture or modern is an added bonus. This DIY sofa table with a pallet table top is a great addition to any room.

Refinish Your Table with a Pallet Top
- Prepare to paint your table by sanding and any glass removal
- Apply paint
- Distress your paint
- Use a sealant and glaze
- Prepare pallet wood with removal and sanding
- Assemble your pallet top with braces, wood glue and a finish nailer
- Apply a sealant
Supplies or Tools You Will Need
These are the supplies that I used for this farmhouse style DIY pallet table. If you don't want to use the same finishes, feel free to adjust the supplies to your liking for more of a modern design.
- Paint
- Paint brush or sprayer
- 220 grit sandpaper
- Minwax paste finishing wax
- Oil-based finishing glaze
- Pallet wood
- Sawzall for pallet wood removal, if needed
- Saw for trimming pallet top down to size, if needed
- 80 grit sandpaper
- Disc sander
- Wood glue
- Finish nailer
- Brace pieces of wood
- Spar urethane
How to Paint a Farmhouse Sofa Table
Wood projects like this are a great way to update your living spaces without purchasing new furniture. Follow along for step-by-step instructions to renovate this whole table.

Step 1 - Prep Your Table
First step, lightly sand your table frame anywhere that will not be covered by pallet slats. This should include everything but the top of the table. Remove any top pieces if needed. The glass piece that normally sits on the top of this table was completely gone.
Sand enough so your paint will stick better to the wood. If your table was previously covered by another coat of paint you will want to make sure that is all sanded off to get a smooth finish.
Step 2 - Paint Your Table
For this project I opted to use milk paint, but any paint that can be used on furniture should work. I used milk paint on this hutch and it turned out fabulous. You can use chalk paint on furniture too. I went with General Finishes in Seagull Gray in milk paint. This paint dries very quickly so you do not have to wait as long between coats.
Apply two coats. Then use 220 grit sandpaper to lightly distress it if you want to create a custom look like this one. If you prefer a more finished look you can leave out the distressing.

Step 3 - Seal and Glaze the Table
When your table is all distressed, seal the paint with Minwax's Paste Finishing Wax. Follow instructions on container.
The finishing wax will make it so that as you apply your finishing glaze you will have more control over where the glaze stays.
Apply the glaze over the wax. After the glaze is applied, you can brush on more wax if you like additional distressing.
You can also opt for a clear coat for your top finish if that is the style you prefer!

How to Create an Easy Pallet Table Top
Once the bottom of your table is painted and sealed, you are ready to create your pallet top table.

Step 1 - Acquire a Pallet and Prepare Wood
Sometimes businesses will have wooden pallets available for free. Chances are that some place will be getting rid of one. If pallet boards are not available, you can also use pine planks as an appropriate alternative.
When searching for old pallets make sure you inspect them for splitting wood. If the wood pallet is splitting in many places, when you remove the planks they will fall apart making it unusable.
Step 2 - Remove Planks
Once you have a sturdy old wood pallet you will need to remove the top planks. The easiest way to remove the planks of wood is with a Sawzall. Make sure you have a metal blade and position your saw in between the plank and 2 x 4.
Next, saw right through the nails. I found this to be a much better alternative than prying them off with a hammer. You can take them off with a hammer, just be careful not to split your planks in the process.

Step 3 - Sand Your Wood
Your planks of wood will most likely have several rough spots. Sand these down to prevent a handful of splinters!

Use 80 grit sandpaper and a disc sander to sand the planks. Sand the sides and tops of the planks to create a smooth finish. This will also help to make sure the wood lays flush.

Once you have sanded all your planks, the wood should look nice and smooth but still have texture. The best part of pallet projects is the texture because the pallet boards add so much character.

Step 4 - Assemble the Pallet Table Top
When your plank pieces are all sanded it is now time to create the wood pallet table top. Find a large and flat work space where you can assemble your table top pieces. (Depending on the size of your table, you may need to use a saw to cut your pieces down to fit the size of your table top.)
Turn the planks wrong side up and lay them how you would like them for the top of the table. Stagger your pieces if you do not want all of your seams to be the same.
Next, you will need to brace the side that is facing up to hold them together with extra support. This will eventually be the underside of the table top. You can use leftover scrap pieces of wood to make your braces as long as they are sturdy. Use wood glue and a finish nailer to secure the braces.

When your glue has dried, place your pallet top - right side up - on your furniture piece. Ideally, the wooden board will hang over 1 inch on each side of the table. You may need to adjust and trim your pallet top down in size to adequately fit the size of your table.
Glue your pallet top to the top of your table. Use your nail gun to secure it to the table also.
Step 5 - Seal
After your top is secure, use a top coat to seal the wood. You can stain the wood a different color before sealing it if you would like. I used a clear spar urethane to seal the wood.


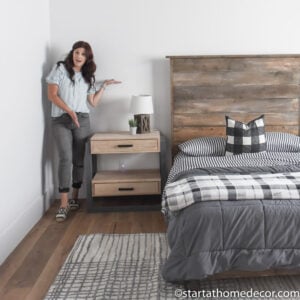
How to Use a Pallet Top Table in Your Space
Take a look at these pallet table ideas for ways to use a pallet table in your home decor.
- Place your table on a living room wall
- Put it against the back of a long sofa if your room is open
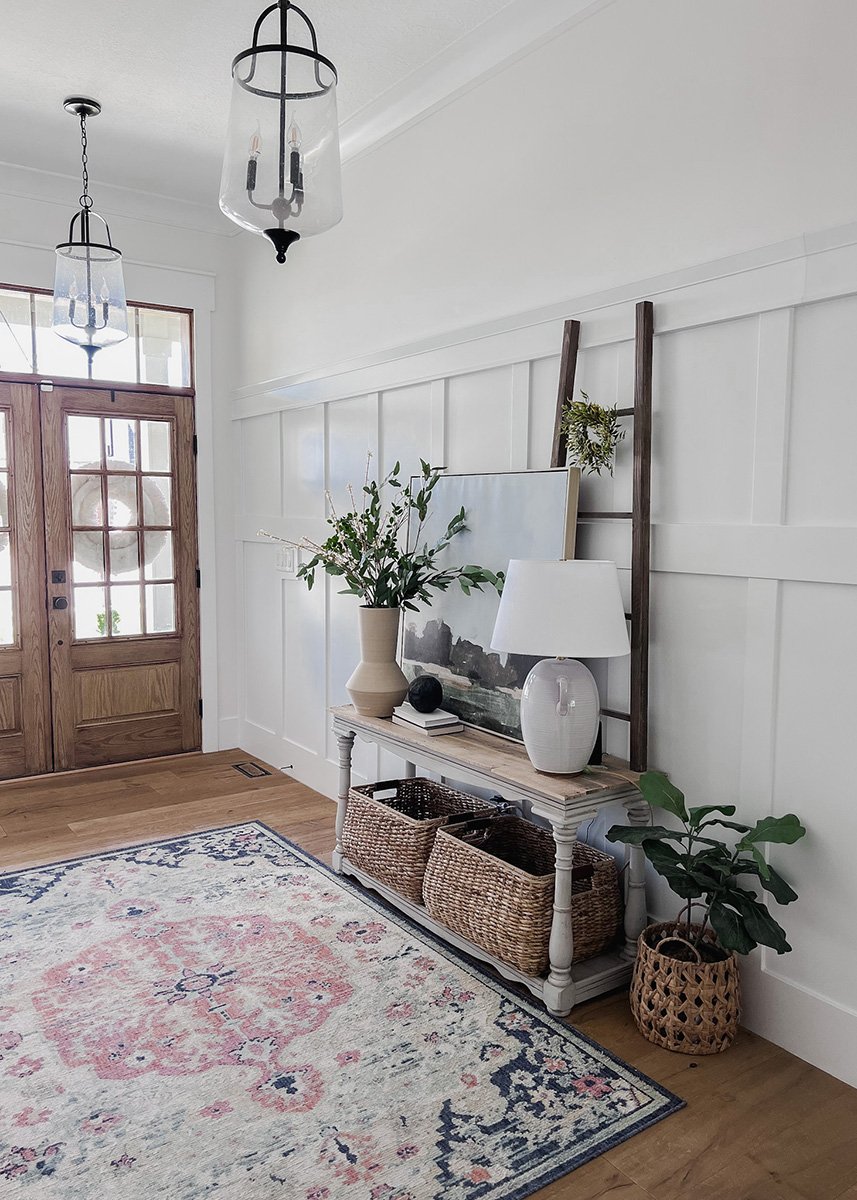
- Use it as an entryway table
- Create a pallet coffee table
- Make side tables with pallet tops
- Create an outdoor dining table or picnic table with a pallet

This DIY farmhouse sofa table with a pallet table top turned out amazing and looks great in front of a shiplap wall! Looking for more pallet wood projects? The wire sign tutorial uses pallet wood and will teach you how to weather wood in hours.
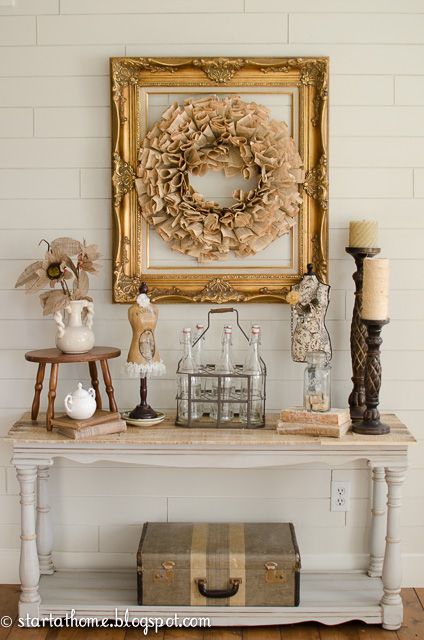
As the first piece of furniture that greets your guests coming into your home, an entryway table should make a captivating statement. I love my entryway. This DIY pallet top table renovation is the perfect visual display to welcome all your friends and family into your home!

Happy DIY ing
Brooke
Leave a Reply