Cheap Flooring Options Using Pine Wood Planks
Installing new floors in your house is a great way to not only increase the value of your home but also update the appearance of your home. New floors make a huge impact on the rest of the house.
Updating the flooring is always a good option, however new flooring can be very expensive. Especially if you want new hardwood floors. Using inexpensive flooring ideas like pine wood planks will give your home a whole new look for much less cost. The great thing is that it is real wood flooring and the installation process is simple. A great choice for DIY flooring on a budget!
All About Our DIY Wooden Floors
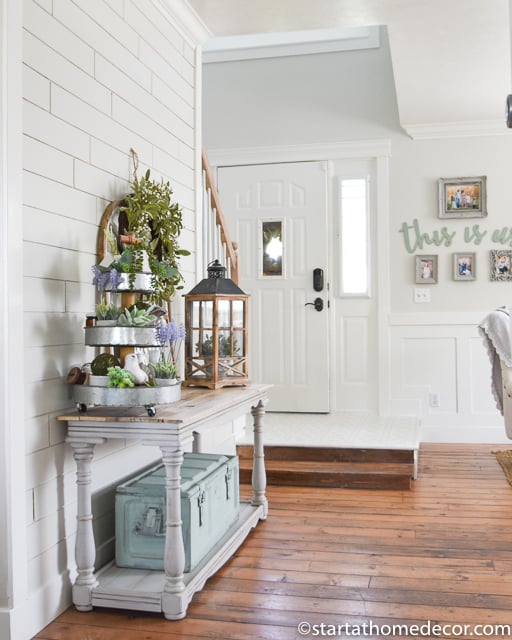
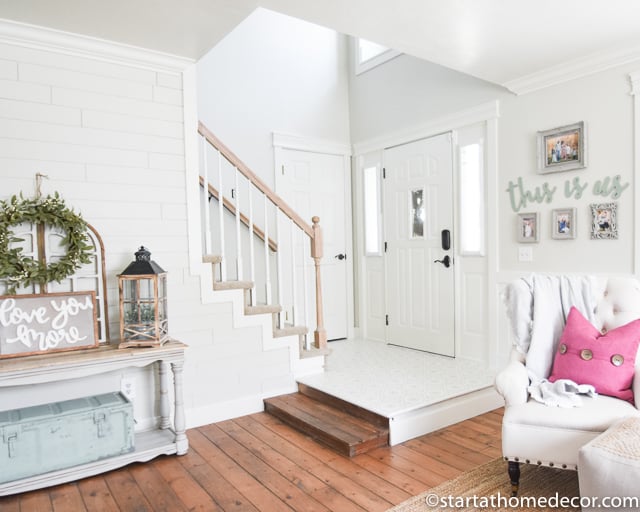
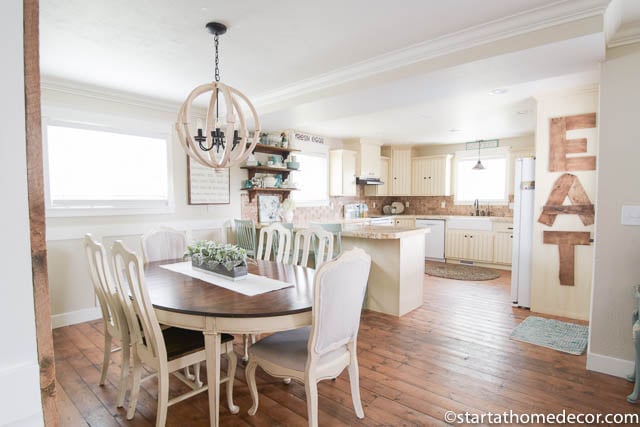
The current floor of our home on the main level is mostly solid wood pine plank flooring that the previous owner installed. These floors are in the kitchen, living room and dining room and have held up well. We have loved them so much. They are great for high-traffic areas and are so easy to maintain.

DIY Pine Plank Flooring on a Budget
After moving into our home, we ended up adding the pine plank floors in our master bedroom because we liked it so much on the main level.
Installation
Pine plank floors are so easy to install. My husband was able to install the flooring on one Saturday afternoon. These planks are tongue and groove so they fit together pretty nicely.
Begin by starting on one side and then moving across the room. Use a finish nail gun to nail the ends and middle of each board. One option is to leave the nails exposed to add to the rustic element. After the planks are all in place, you can stain them a different color or leave them natural.
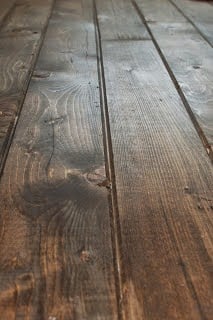
I stained the planks with General Finishes Early American stain. The finishing touch is to apply Old Masters matte top coat to seal everything. Let your floors dry for a few days before moving everything back in.
Proper Maintenance
The great thing about pine floors is they are so easy to maintain. No need to worry about scratches because pine plank flooring is supposed to look distressed and worn. Any time someone scratches or drops something on the wood it just adds to the overall style and character of the flooring.
If the floors ever get really scratched, you can use stain to touch them up when needed.
Another great thing about a pine plank floor is that it hides dirt very well. Mopping floors is not my favorite chore so when I skip it for a few days no one can tell with these pine floors.
A Great Option for Other Rooms
When we moved into this house the first thing we needed to do was upgrade the master bedroom flooring. The old flooring was outdated and worn. We also had a tight budget so we needed some inexpensive flooring options. Since we liked the look of our pine plank flooring on the main level so much, we decided to install it in our master bedroom.
This was a great option because the flooring materials were cheap, the labor costs were free since we did it ourselves and the whole floor turned out beautifully.
We were able to upgrade the bedroom floors with pine planks for cheap. We did our entire bedroom for under $200.

Drawbacks to Pine Floors
Every type of flooring has some drawbacks. Unfortunately, pine planks are no exception. However, they can be easily maintained making this flooring type still a good choice, especially if you are looking for budget flooring ideas.
Not Designed to Fit Seamlessly
One major down side to pine planks is that they are not designed to fit together seamlessly, leaving cracks in between each board. Our flooring is tongue and groove which allows some of them to fit together tight, but others still have larger gaps allowing crumbs to fall down in between the boards. However, most messes can be vacuumed out without too much effort.
Soft Wood Scratches
Pine is a much softer wood then real hardwoods such as oak, so these do scratch easier. But, like I said earlier, it goes with the character of the flooring and can be easily stained to hide the scratches.
Slivers
Since pine is such a soft wood, sometimes the wood will break or crack which can cause slivers. When that happens I sand it down slightly, stain it and then seal it. The wood looks the same as before.

Upgrade Old Floors for Cheap DIY Floors
In spite of some of the drawbacks to this flooring option, I love my pine plank floors. Since they are real wood, they bring a welcoming warmth to our home. They also bring some great rustic charm that adds character and style. The DIY installation requires minimal skill level and the cost of materials is a good price point. These floors hold up to lots of foot traffic with kids and dogs and still look great.
If you are looking for cheap DIY flooring ideas, you are in the right place. Pine plank floors would be beautiful in any home.


These pine floors look great in our farmhouse kitchen and pantry space. Looking for more ideas on DIY flooring on a budget? See what our new custom home now has for floors.
Happy DIYing!
Brooke


ℳartina @ Northern Nesting says
Brooke they look beautiful...I love what you did in your entrance with the painted design!! Your home always looks so pretty!
linda says
did you sand the floors after installing or just stain and varnish? They are beautiful
startadmin says
Linda I did not sand them after they were installed, lucky for me they were already sanded!!
linda says
so you just went with random unevenness rather than sanding all even? Any problems with things caching on them. This is the only reason I haven't done this. I was afraid floor would be to uneven and I don't want to sand. Thanks!
Shabby chic Sandy says
I love your floors! I am going to have to look into how expensive they are--I would love to do this myself!
Elizabeth BlueClearSky says
Your pine floors are beautiful! I love the character that the boards get over time.
Kathryn Ferguson Griffin says
Absolutely beautiful! Thank you for sharing. You are one of the features at the Make it Pretty Monday party at The Dedicated House. Here is the link to this week's party. http://www.thededicatedhouse.com/2014/10/make-it-pretty-monday-week-117.html Hope to see you again at the bash! Toodles, Kathryn @TheDedicatedHouse
Christian Kingsbury says
Love this! My wife and I have been looking for a new project!