
Transform your wood flooring for better with this easy DIY floor paint tutorial that takes you from beginning to the end.
Are you looking for a way to update your home interior without spending a fortune? Look no further than your floors! With a few simple supplies, you can breathe new life into your floors with a do-it-yourself floor paint job.
In this tutorial, you'll learn the easy steps to painting your entire floor, saving you time and money in the process. We'll walk you through the entire DIY project from start to finish, including tips and tricks for achieving the perfect end result. Plus, before you're done, you'll have a newfound respect for the power of paint to transform your home interior. So, if you're ready to dive in and make your home look more stylish and modern with a DIY floor paint job, then let's get to work!

Whether you have floor tile, linoleum floors, hardwood floors, etc., you can apply this entire process to rejuvenating the flooring in your home.
Supplies Needed for DIY Floor Paint
You can find a lot of these supplies at your local hardware store like Home Depot. But, I've also included some easy basics that I order online for convenience.
- Stencil, if desired
- Foam roller
- Level
- Tape measure
- Painter's tape
- Paint tray
- Primer
- Putty and putty knife, if needed
- Paint - I used latex paint in Agreeable Grey by Sherwin Williams
- Paint brush - 1" and small for touch ups
- Clear flat poly acrylic for top coat
How to Paint a Floor
Now that you have all of your supplies for this DIY floor paint, let's get started on the whole process. You can follow along in this video tutorial or continue reading for more detailed instructions on the painting process.
Easy DIY Paint Floor Video
Watch here for visual instruction.
Prep Work
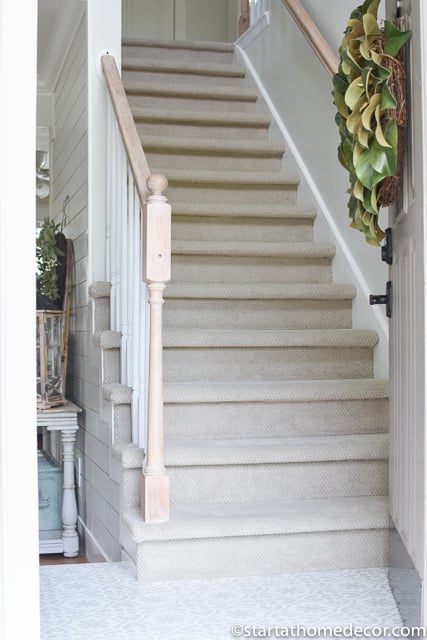
The front entry into our home sees a lot of foot traffic. So much so that our flooring was looking super dingy. I decided to give it a facelift for improved style as well as creating a nice visual treat for when you open the front door.
For the best results, your first step should be giving your flooring a good cleaning. Don't start resurfacing until you either dry vacuum or wipe it down with a paper towel. A sufficient mop job is also a good idea. Once that is done, you will want to patch your flooring if needed. Sometimes it can get pretty scuffed, so filling in with putty is helpful.
If you do work on a bit of patching, make sure to end with a smooth finish. Because my flooring is oak here, I sanded just a little bit to start with a smooth surface. Make sure you have a dry surface that is clean and then continue on to priming.
Priming the Floor
Next step, use a paint roller to apply the primer coat to your surface. Make sure to use a good quality primer. This will help for the paint to adhere, especially in high-traffic areas. Allow time for your primer to dry before proceeding to the next step.

Measure for A Stencil
Instead of leaving the floor painted with a single color, I opted to use a stencil and incorporate a fun design. To do this, there is a bit of measuring and leveling involved.
The most important thing is that you get your first line straight. Pull out a level and measuring tape. If the first lines are not straight, your whole pattern can end up off. I started at the outside corner because it was easiest to get everything squared up. Plus, I wanted the full stencil look on the outside edges.
Once your stencil is lined up straight, use painter's tape to tape down the edges. When it is secured in place, double check with your tape measure to make sure nothing has moved.
DIY Paint Floor Design
Now it is time to apply paint to your floor. I believe that Sherwin Williams has some of the best paint, so I purchased a sample size in Agreeable Grey from the paint store. This is a great way to get supplies because you don't want a ton of leftover paint if doing a stencil like this.
Pour your paint into a paint tray and run your foam roller brush through the paint to make sure all sides of the roller are covered. Then roll it on a paper towel to verify there is paint adequately covering the roller. If there are still bare spots, roll it again in the paint.
After your roller is covered, roll it over the paper towel again to remove any excess paint. This is very important! If you have too much paint on your roller it is more likely to run under the stencil and you will not have crisp lines. Then apply your first coat of paint. Make sure to run your roller in all different directions so paint gets into all the areas needed.
Remove Stencil Pattern
Once your pattern is covered, remove the stencil in a slow, upward motion. Before placing the stencil pattern again, make sure that your first one is dry to the touch. You do not want any wet paint. Do not put tape over the already painted area.
Continue Your DIY Floor Paint Pattern
Line up your stencil next to your first square. Check your measurements again and continue painting. The first line of stenciling does take longer with drying time, but after finishing the first line, you can speed up the process by alternating which sides of the floor you paint on. This helps with dry times and moving faster.
Tip: Clean your stencil after about 10 uses. As the paint dries on the stencil it gets gummy, enabling the paint to get underneath the stencil and creating lines that aren't as crisp. Avoid this by washing your stencil!
Finish the full stencils and then let it dry for a day.
Smaller Areas
For the smaller areas that don't require a full size stencil square, I found it easiest to cut the stencil down. Be careful when doing this. I did not have a back up stencil so I started with the biggest area and slowly cut the stencil down smaller.
I also used a small paint brush in a dabbing motion to get the areas where the foam roller couldn't reach. And once I finished all the stenciling I used an even smaller brush for touch ups.
Once you have a painted floor, allow 24 hours to dry completely and then seal the floor with a flat poly acrylic, specifically for flooring. This makes a huge difference for the final look of your floors.
After outlining the necessary steps and materials, we hope you are inspired to get creative and explore the many colors and textures of floor paint. Remember, the key is to consider your floor's wear and tear, preparation and application techniques for the best results. With a bit of hard work and enthusiasm, you can give your floors a unique look. Now that you have the confidence to tackle a DIY floor painting project, let's transform your floors with fabulous floor paint!
Happy DIYing!
Brooke
Leave a Reply