Simple tips for easy chandelier installation over your dining room table.
Illuminate your dining experience! Installing a dining room chandelier over your table is an easy way to transform your home into a place of grandeur and sophistication. Whether you are an amateur DIY enthusiast or an experienced designer, this article will guide you through the necessary steps to hang a chandelier over a table.
From safety considerations to design tips, you'll be sure to get the perfect lighting solution for the center of the room. And why not enjoy the satisfaction of knowing that you completed the installation yourself with minimal fuss. So, what are you waiting for? Let's get started!

Choosing a Light for Chandelier Installation
When picking out a new chandelier to hang over the center of the dining table, there are a few things you will want to consider.
- Look at style - A good rule of thumb is to pick a lighting fixture that will go with the style of your room. You want your ceiling light to go with the home decor that is already in the room. You can also look at hardware finishes and find something that matches, whether that is chrome, nickel, steel, wood, etc. Also think about whether or not you want visible light bulbs.
- Blending - Do you want your chandelier light to blend into the background or provide a creative focal point to enhance design element into the room?
- Light output - Is your purpose to have a brighter room or to simply add character? If your goal is to add a strong overhead light, you'll want something that can produce what you need. It may be worth considering transferring to an LED light fixture to produce enough light.
- Ceiling height - The height of your ceiling matters! If your ceiling is low, you may not want a longer chandelier for fear of people hitting their heads. But if you have tall ceilings or a vaulted ceiling, you definitely have more flexibility in the type of chandelier you choose.
- Size - The size of your chandelier will be impacted by the size of the room. Don't pick a small chandelier if your room is enormous. And likewise, a large chandelier would be overwhelming in a small kitchen. Definitely consider your room size and table before purchasing a light.
Previous Light Fixtures
We went through three other lights before landing on our new light fixture. The existing light fixture was a tiffany style that looked like a bowl of fruit. Our next replacement light was a $60 chandelier I found at Costco, and the next was a vintage chandelier I got for free. I loved that light fixture, but my husband really hated it.
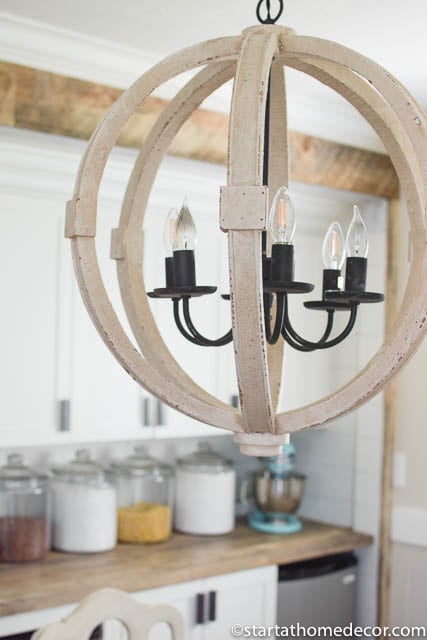
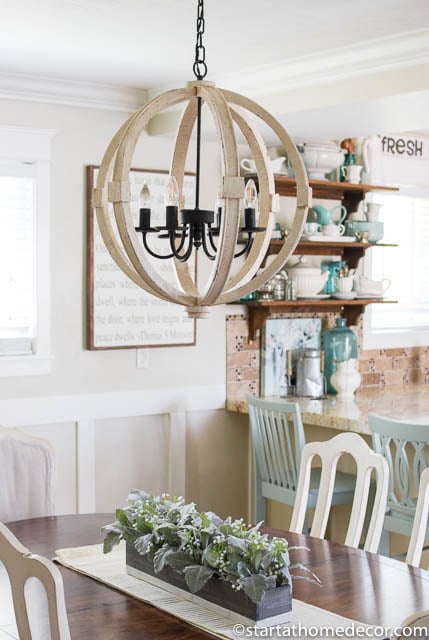
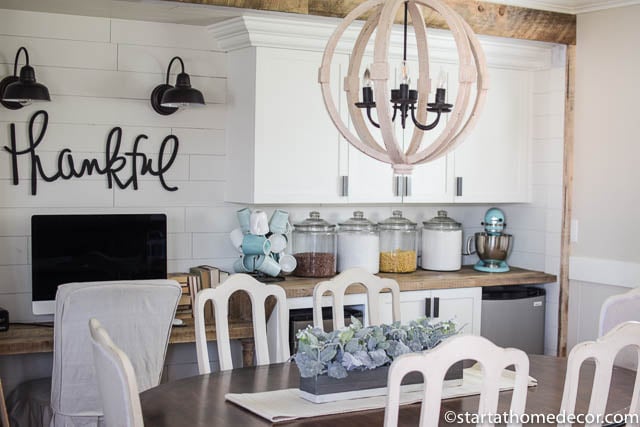
Since marriage is all about compromise, we eventually found a big chandelier to meet both of our personal preferences. This modern farmhouse orb was his first choice and I LOVED it too.
I love how this orb light looks in our farmhouse kitchen. It is just the right amount of rustic for this space. Our cabinets are the same cream color as this light so it pulls the cream out of the kitchen perfectly! Look here for additional farmhouse lighting for the bathroom!

Possible Tools for Chandelier Installation
Here are a few tools that may be handy to have for your chandelier installation. Grab these at your local hardware store or from a neighbor willing to share their tools. This is a great skill to learn how to install a light fixture so that you can do your own in the future.
- Metal cutters
- Drill
- Screw driver
- Electrical tape
- Wire stripper
- Pliers
- Step ladder
- Voltage Tester
Step by Step Chandelier Installation
I would hope that any new chandelier purchases would come with specific instructions, but sadly that is not always the case. See how we completed our easy chandelier installation. You can use these same general guidelines to install your own lighting as well.
Placement of Chandelier
First step, decide how low you want the height of your chandelier to be. When we were installing this light over our dining table we made sure to have the light hang between 30" to 34" above our table. This chandelier height is just high enough to be out of the way.
Remove Excess Chain
When you have decided upon the right height, your next step is to remove the excess chain and wire. This process is inconvenient, but a long chain and electrical wires hanging down looks really tacky. Use STRONG metal cutters to cut the chain down to size.
Install
Now it is time to install the light in your dining area. Make sure the power is off to your kitchen at your electrical box. An extra set of hands is also necessary. You will need one person to hold the light while another person helps to install it. (Follow installation instructions from lighting manufacturers.)
Connect your wires and screw the fixture to the ceiling. Make sure and check that the weight of your chandelier is holding well before you let go.
Flip your power back on and you have a new and beautiful light hanging over the center of the table. See this pantry remodel here.

Hanging a chandelier doesn't have to be hard. You can use this same process to hang pendant lights over your kitchen island. There is nothing more beautiful then a sparkling chandelier as a design feature.
Installing a chandelier over a table provides an amazing aesthetic touch to any room. Not only that, but it can also act as a showcase for a family heirloom, or as the focal point of a room, uniting it together. Considering the vast array of styles available, finding the right one for your space is only a matter of time and effort.
With thoughtful consideration and careful installation, a chandelier over a table can truly be a beacon of light that enriches any room. We encourage you to look around, weigh the risks, and add a unique blessing of brilliance to your table today.
Shop This Room
Happy Decorating!
Brooke


Leave a Reply