
Add geometric style to your walls with your own DIY wood wall art.
Are you looking to add some boho chic flair to your home without breaking the bank? Then you've come to the right place! This article will show you a simple, cost-effective way to create beautiful DIY boho inspired wooden wall art.
Give any room an on-trend makeover in no time—all with just a few supplies and a bit of creativity. For this DIY project, we'll discuss needed materials, how to paint and distress the wood, assembling the sign, and of course, how to make it all look like a boho dream. Let's get started!

A fun piece of art is a great way to add character to your home decor. I have been wanting to make a fun sign for my new home, so after I demoed a house for a client I kept some of the old oak wood flooring that was going to be thrown away. This Boho inspired geometric wood wall art was the perfect project to use it on!
Supplies for Wood Wall Art DIY
You will need a few power tools to build this easy project. Most of your supplies can be found at your local hardware store like Home Depot. However, this can also be the best way to use up leftover plywood or scrap wood pieces.
- Wood - I used oak, but other pieces of wood will also work
- ¾" sheet of plywood
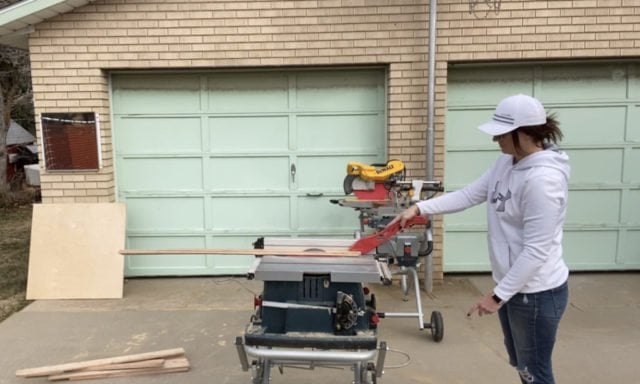
- Table saw
- Chop saw
- Jig saw
- Measuring tape
- White paint
- Paint brush
- Rapid Fuse wood glue
- 220 Grit sandpaper
- Sander
- Brad nailer
- Optional, colored paint or wood stain for wood slats
How to Create a Boho Inspired Wood Sign
I created a YouTube video with all the instructions. You can view it here.
Cut Plywood
First, take your sheet of plywood and use a table saw to cut it down to 36" wide and 24" tall. I like to use the ¾" thickness for more stability.

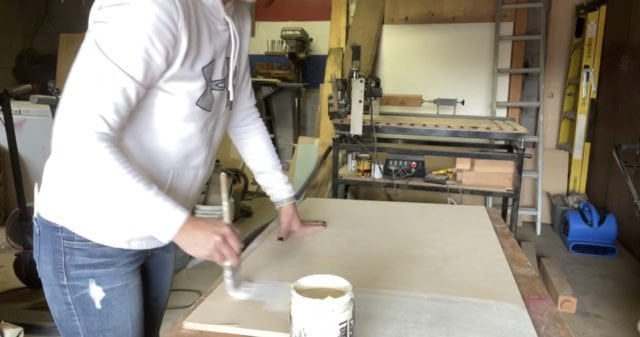
Sand and Paint Plywood
Next step, sand your plywood lightly with high grit sandpaper. Make sure all the dust is wiped off before painting your wood wall art base white. The type of paint you use is flexible, though I used a chalk paint. You can also use milk paint or latex paint if those are what you have on hand.
Cut Oak Slats
While your paint is drying, proceed to cut your wood slats to 1" thick strips. I highly suggest using oak or pine wood for this project to get a nicer quality of wood grain detail. However, if budget is limited and you need to use whatever is on hand, you can also try:
- pallet wood
- furring strips
- wood dowels or square dowels
- wooden blocks that can then be cut down
I also cut a few down to ½" for an added detail. Cutting these down also helped me to trim up the edges of the pieces that had seen better days.
Lay Out Wood Wall Art Design
When all of your wood pieces are cut, you will want to lay out the original design for your DIY wood wall art piece. This wood wall decor is purposefully designed to be asymmetrical with no two sides being the same. That is the fun behind this boho themed geometric wood art.
Put the wood in place and then trace on either side so you have a tentative idea of where your pieces need to go. Most of these wood pieces are laid out at a 45-degree angle which is a little softer on the eye instead of a harsh right angle.

If needed, cut the wood down so it hangs over the edge about an inch or more. You'll want to make sure that you have a straight line for this desired pattern.
At this point in the process, you can opt to paint or stain your wood. Paint colors can create a bold color scheme that ties into your room decor. Stain can still emphasize the beauty of the wood grain. Do this before you glue your wood onto the plywood. However, if you want a rustic look or more natural appearance, you can leave as is without adding paint or stain.

Glue Down Wood Wall Art Slats
Use Rapid Fuse to glue the wood down into place and allow for some time to dry so the pieces won't shift. After putting on the glue, hold the wood in place for about 30 seconds so it has time to set.

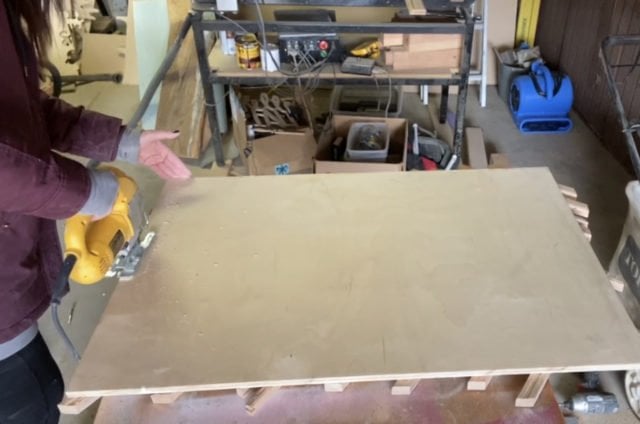
Cut Excess Wood Overhang
Then, flip the sign over and use a jig saw to cut off the excess pieces of wood that are hanging over the side. Make sure that your blade is right up along the edge of the plywood so you get a clean line.
Flip the board back over and lightly sand all of the edges of your wood pieces that have been cut. You want a smooth surface and straight edge to attach your frame to.
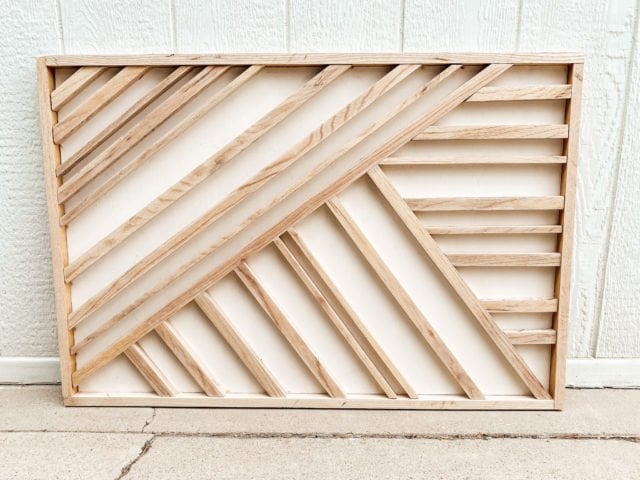
Build Frame for Wood Wall Art
Use the same type of wood to create a wood frame around the outside edge. I cut the longer pieces to overlap the edges just a little bit. Then, you can start nailing in the frame pieces.
You can also choose to stain or paint the frame if you desire, but I love the clean, raw wood look. Another option would be to fill in nail holes at the end, but again, I like the final piece to be more natural.

And there you have a new piece of wall art. Feel free to paint it to match your room decor or leave natural wood as is. Either way is gorgeous depending on the look you are going for!
Creating a DIY Boho wood wall art sign is an easy and fulfilling way to spruce up any room. It’s no surprise that boho inspired décor is a popular trend – not only does it look great, but it is also a budget-friendly option. With creativity and the right supplies, anyone can craft a beautiful boho wood sign that will last for years to come.
Take a stab at creating your own wood sign and be sure to share it with us on social media with the hashtag #diybohowoodsign – we can’t wait to see your creations!
Happy Decorating!
Brooke


Leave a Reply