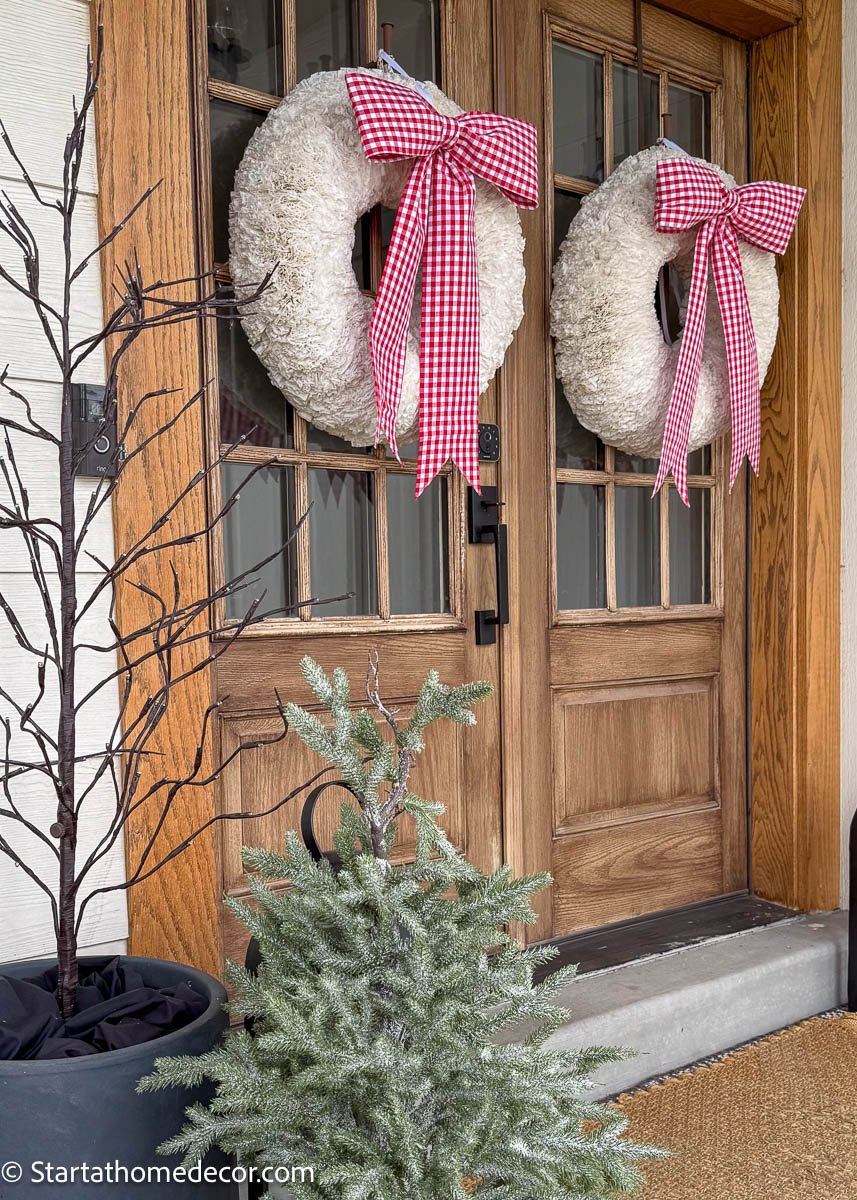
Looking for the perfect oversized bow to top your wreath, hang from your staircase, or use as a statement on your Christmas tree? These stiff, structured fabric bows hold their shape beautifully and look designer-made — but you can make them at home with just a few supplies and a little sewing!
✂️ Supplies You’ll Need
- Fabric of your choice
- Iron-on medium-weight interfacing
- Sewing machine (or hand needle and thread)
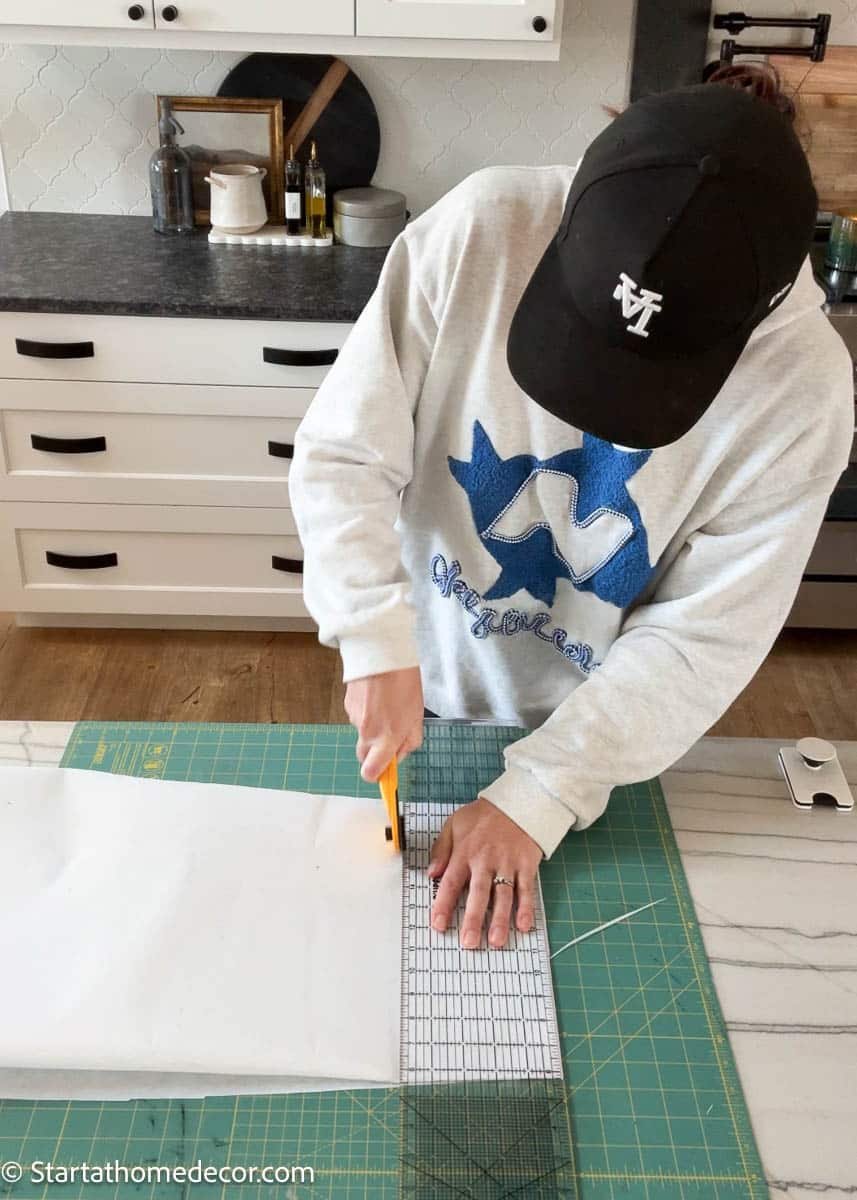
- Scissors or a rotary cutter + mat
- Ruler
- Iron
- Fabric adhesive
- Ribbon for hanging or accent
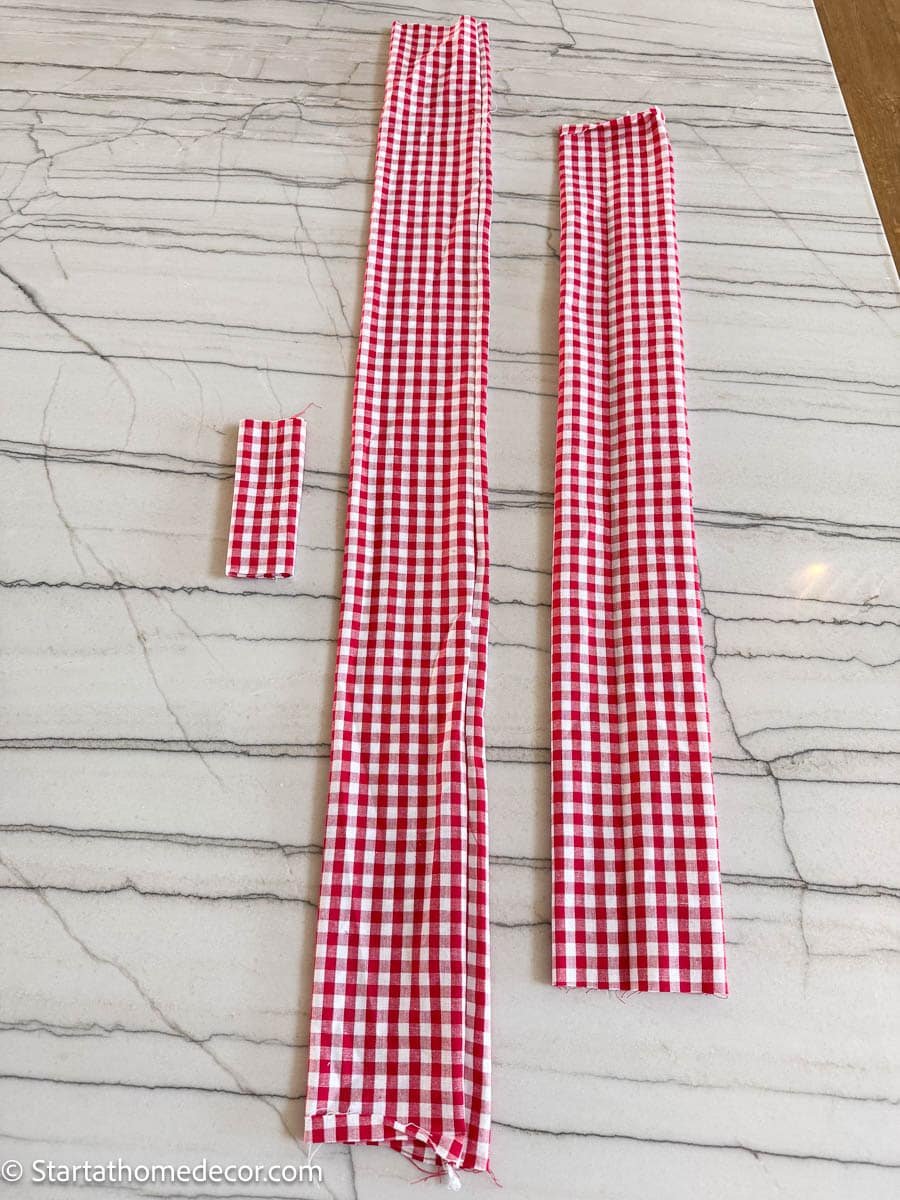
📏 Fabric Dimensions
To make one large bow, cut your fabric into:
- (2) 11¼-inch-wide strips
- 37-inch long strip — for the bow top
- 49-inch long strip — for the tails
- 4½-inch x 7-inch piece — for the center loop
Step-by-Step Instructions
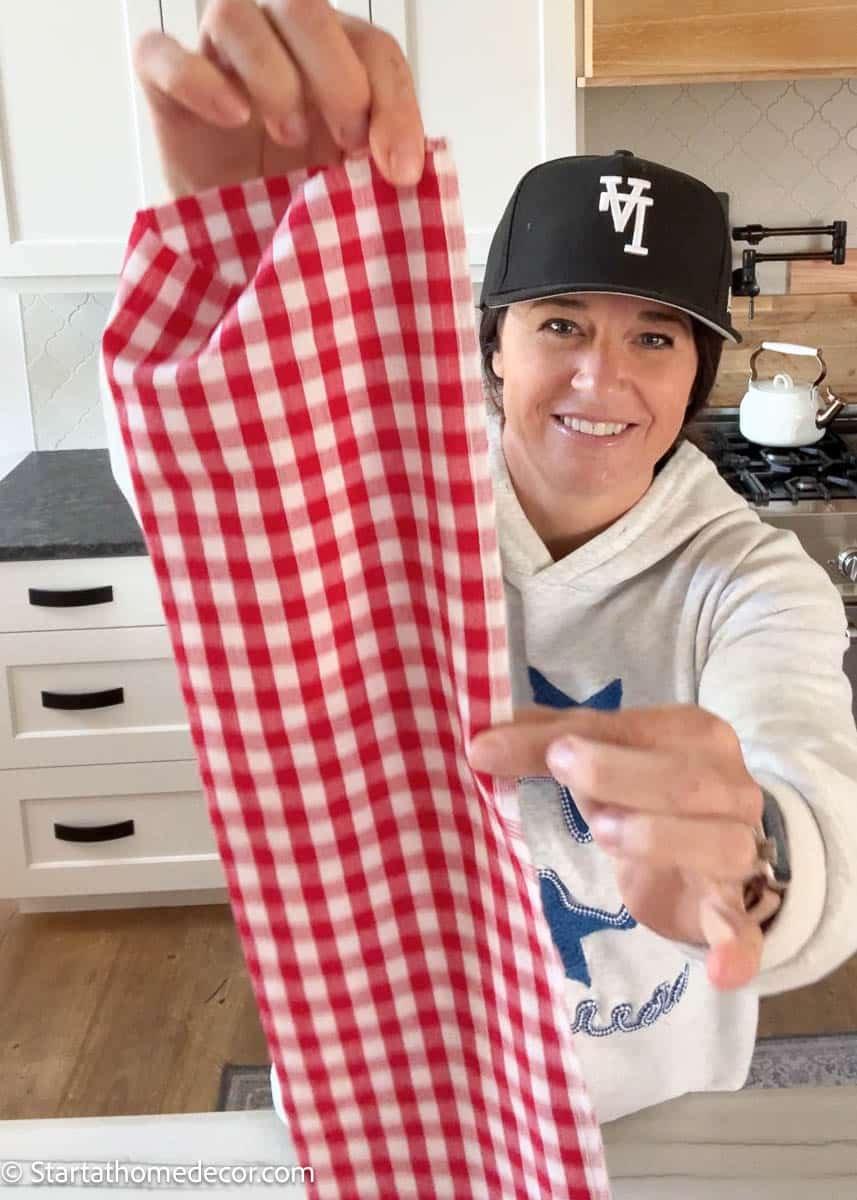
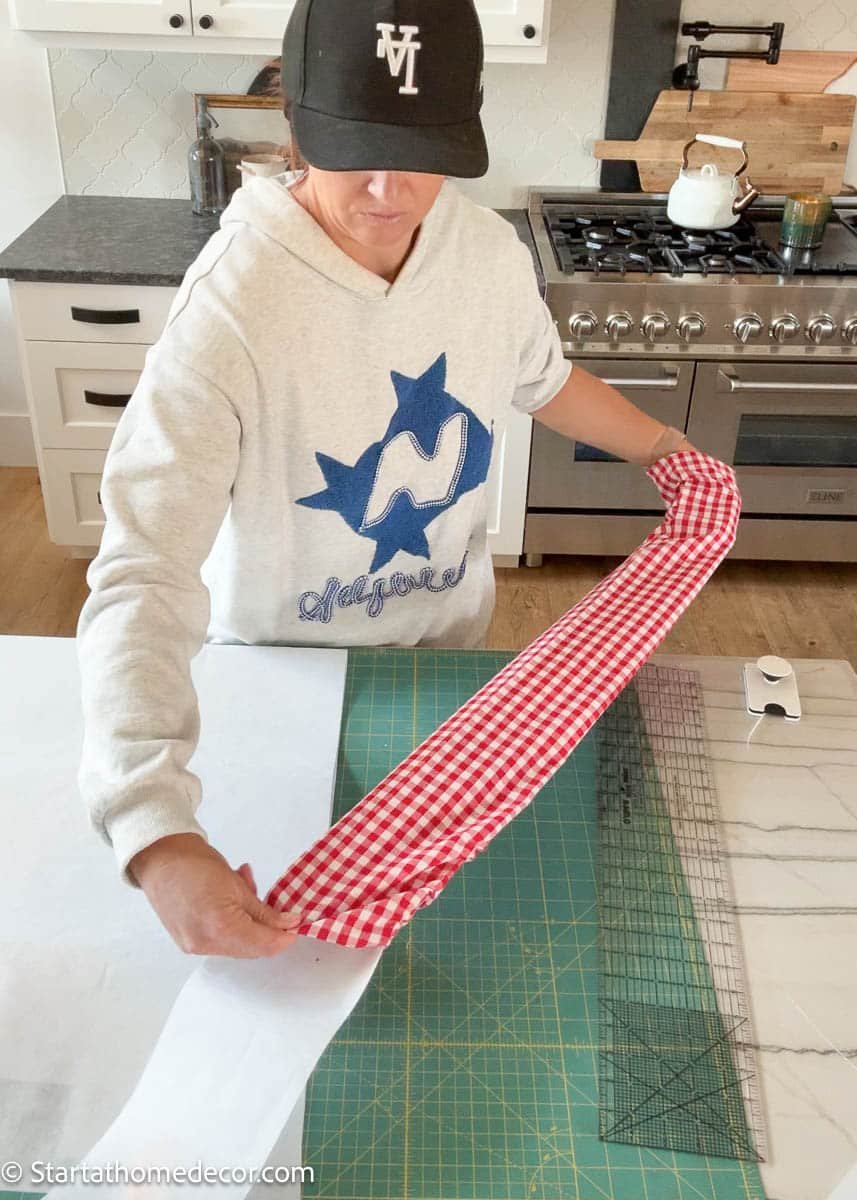
1. Sew and Flip
Start by sewing each long strip with right sides together (the wrong sides facing out). Sew along the long edge and one short edge, then flip the fabric right-side-out using a dowel or pencil to help push the corners.
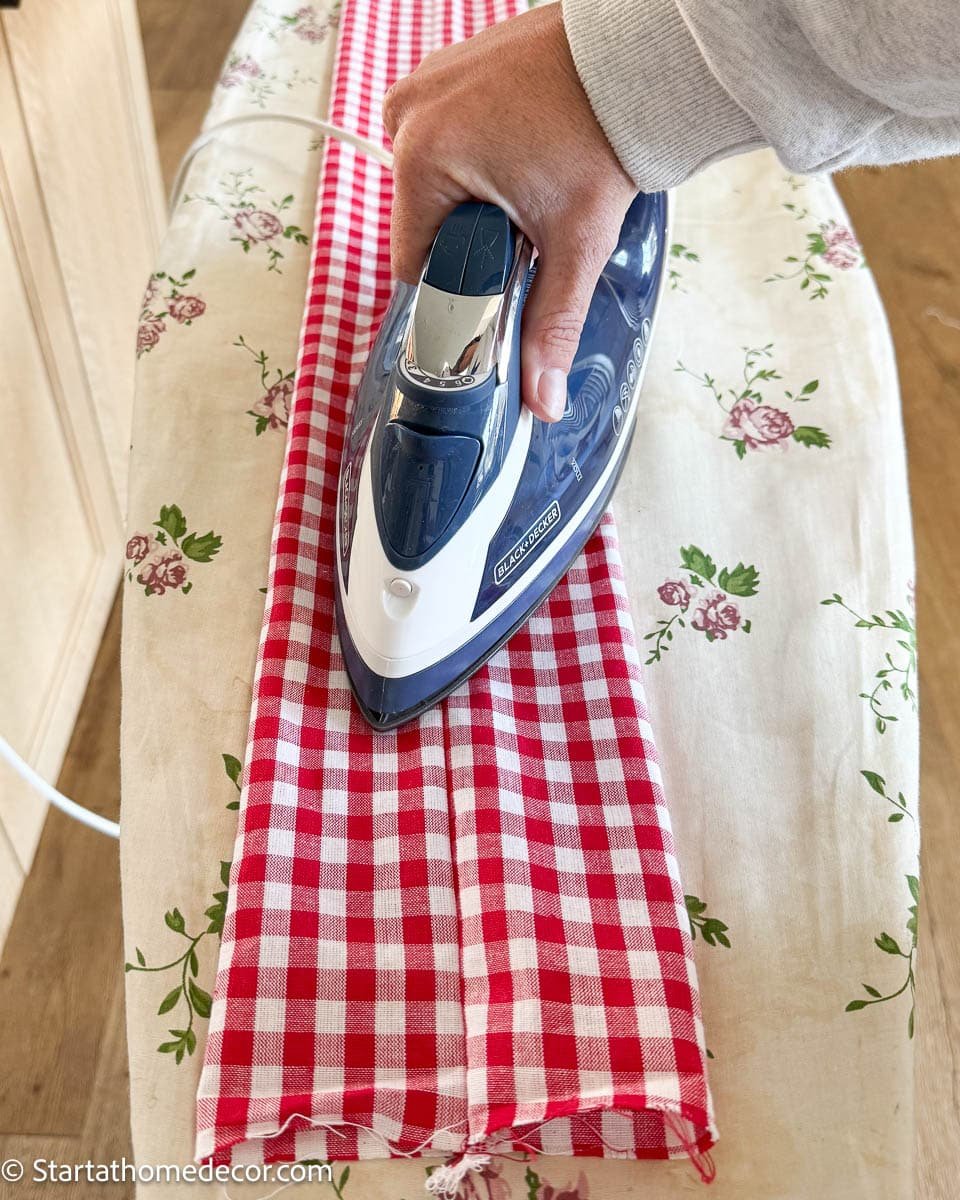
2. Press and Center the Seam
Once flipped, iron the strips flat, making sure the seam runs neatly down the middle of the back. This gives a clean, professional finish on the front.
3. Add the Interfacing
Cut your iron-on interfacing about ⅛ inch smaller than your fabric sleeve.
Carefully slide it inside the strip, position it flat, and iron to fuse.
4. Shape the Bow Top
Take the 37-inch strip (the one with interfacing) and sew the short ends together to form a loop. This will become the top section of your bow. I pinned the center together so I knew how far to put the center loop on.
5. Create the Tails
For the 49-inch strip, cut a triangle out of each end to create that classic ribbon-tail shape. Press the edges crisp and neat.
Measure up 3 inches and find the center or the strip and make a dot. Cut up to the dot on both sides.

Sew along the newly cut edge.

Add fabric glue to the raw edge. This will keep it from fraying and create a crisp clean edge.

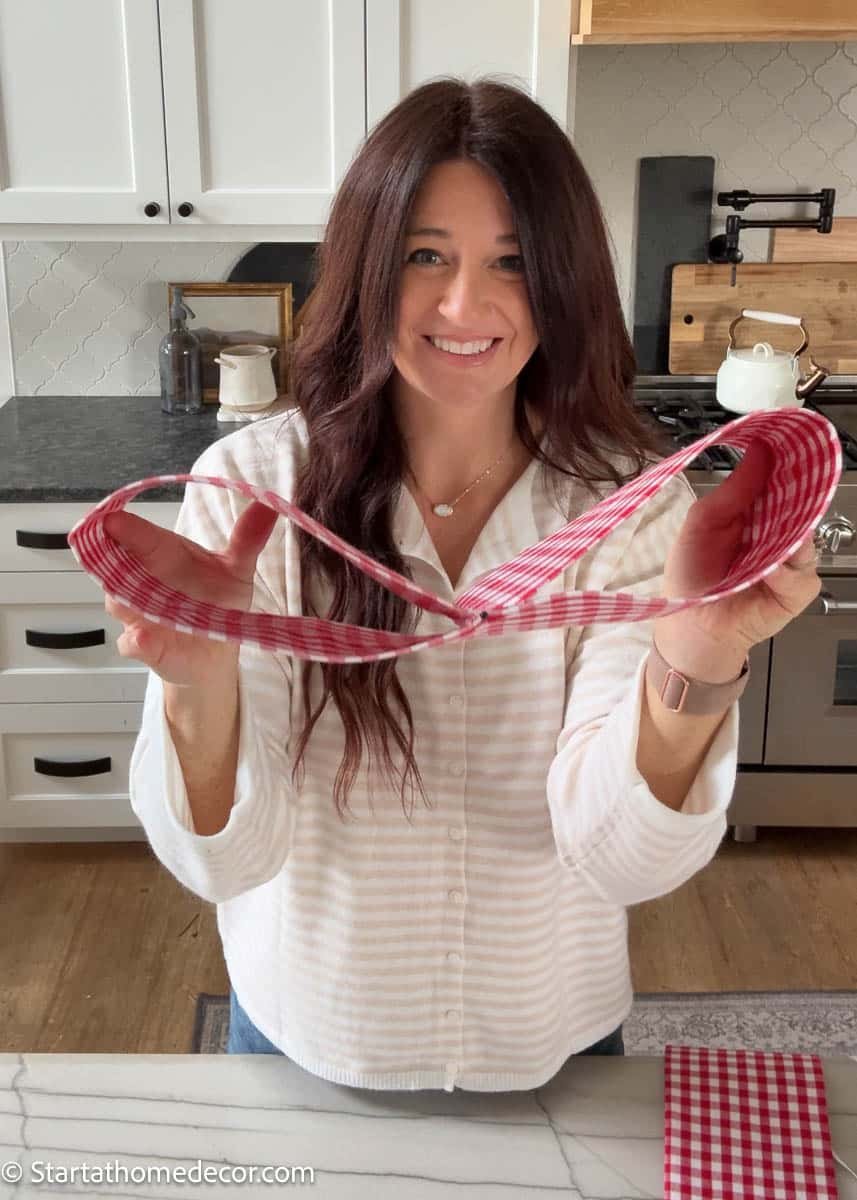
6. Make the Center Loop
Take the 4½-inch x 7-inch piece, fold it in half lengthwise (right sides together), and sew. Turn it right-side-out and press flat. Next sew the loop together. This will be the center wrap that holds your bow together.
7. Assemble the Bow
Slide the center loop over the top section first take it all the way to the center.

Next pull the tails through to the center.

8. Add Finishing Touches
Fluff and adjust your bow until it looks just right. Add ribbon to the back if you plan to hang it or attach it to a wreath.

Designer Tip
Choose fabrics that coordinate with your holiday décor — velvet, plaid, or linen look beautiful for Christmas. Using interfacing is the secret to keeping your bow full and perky all season long!
Time to Get Crafting!
Now that you know how to make these big, beautiful bows, it’s time to get creative! Use them to dress up your tree, stair railing, wreaths, or even gift boxes. Once you’ve made one, you’ll be tempted to make a dozen — they’re that pretty!
Happy DIY-ing
Brooke


Leave a Reply