
A KitchenAid mixer will last forever, but the color can be fleeting and trendy. See how to fix that below!
Give Your Kitchen Mixer a Whole New Look
The KitchenAid mixer has been around for over 100 years. In the 1950's the mixer became available with a variety of fun colors. 1955 was the first year that customers were able to buy a mixer with a color to match their kitchen decor and other kitchen appliances.
Every year since they have come out with new beautiful colors. From bright yellow to deep blue! There are so many to choose from. Also every year KitchenAid announces a new color of the year.
It is always fun to see the many new color options of KitchenAid mixers that are available and the dozens of mixer colors they have made over the years.
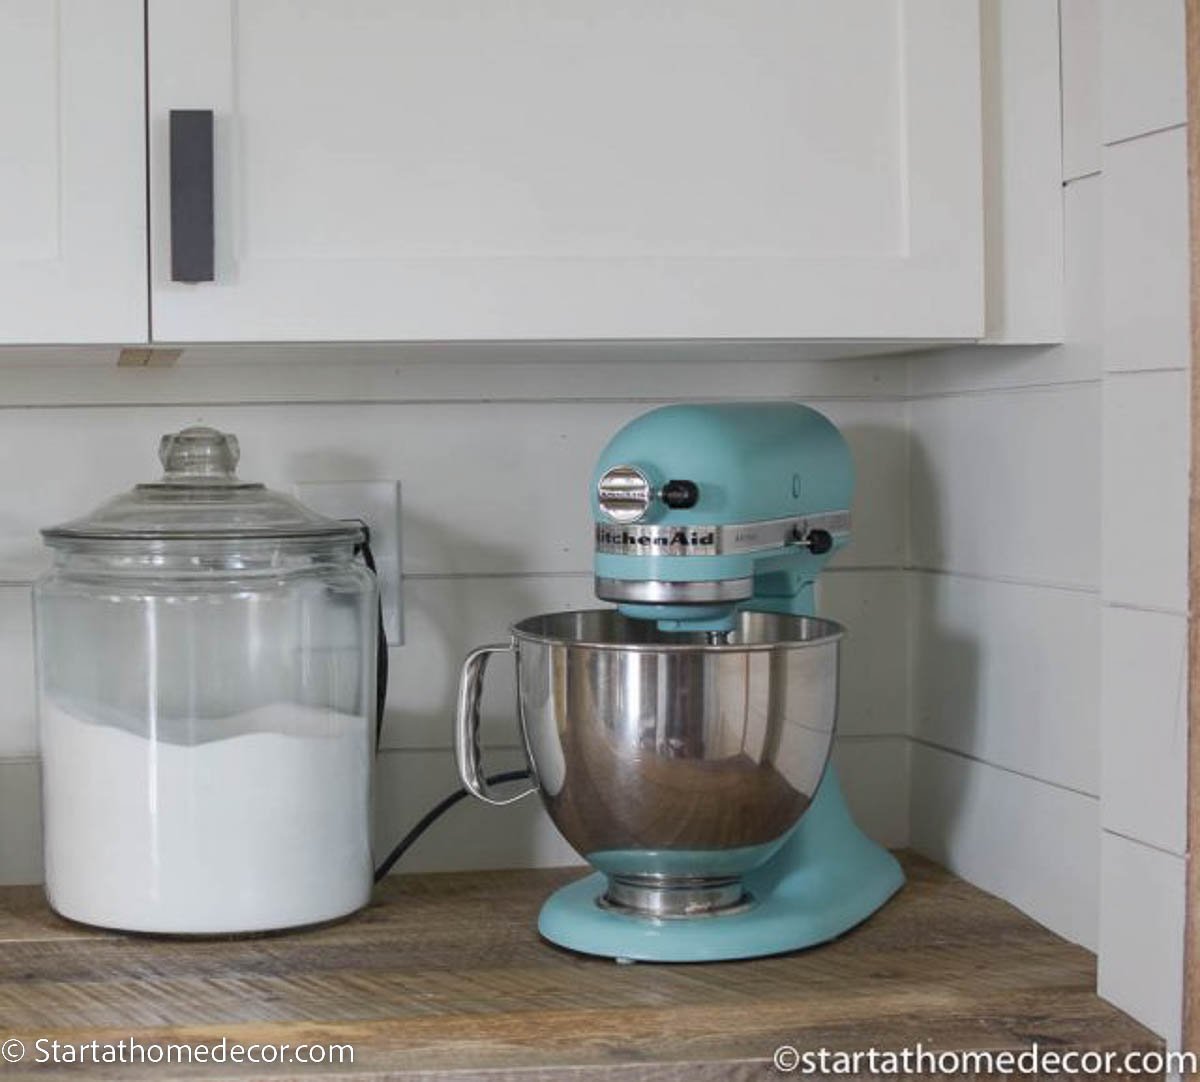
I have owned my KitchenAid brand mixer for a number of years now and it is still going strong. I love it so much that I wanted my mixer to be displayed on one of the counter tops in the pantry.
However, candy apple red does not match the rest of the farmhouse kitchen color scheme anymore. Since we turned a closet in our kitchen into an open pantry, my KitchenAid mixer needed some different colors.

Buying a new one didn't make sense when the only thing that needed to be changed was the color. It is the best stand mixer and will likely last many more years. A budget friendly solution would be to give my mixer a new paint job.
I have been searching for the last few months on a way to change the color of my mixer. I know you can paint them with chalk paint, but I wanted to find a durable way to change the color that would not only last but look like I bought it that color!
DIY - New Color for My KitchenAid Stand Mixer
The search is finally over because I found the perfect product to update a mixer. And it is so easy!! Read on to find out how to refresh your KitchenAid with your favorite color!
Supplies: (affiliate links)
- Kitchenaid Mixer
- Amy Howard's Clean Slate
- Rags
- Screwdriver
- Blue Painter's Tape
- Amy Howard's Lacquer spray paint (I used Belize)
- Amy Howard's Bright Idea Clear Lacquer
How to Refresh Your KitchenAid:
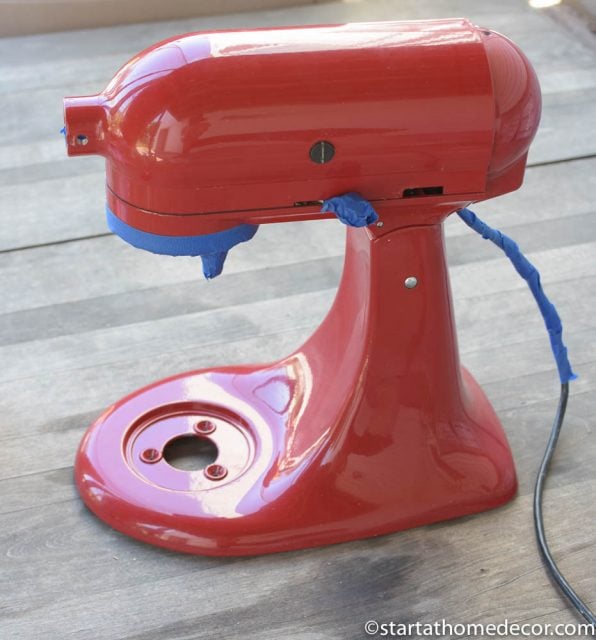
Remove the Hardware
First off, make sure to take this little project outside or in the garage where you won't have to worry about making a mess.
Next, you will want to remove any hardware that can come off so you don't accidentally spray it with a coat of paint. The base in the bottom (if you have a model like that) and any other knobs and removable parts. Be sure to put these somewhere you won't forget and try not to lose any pieces!

Give the Surface of Your KitchenAid Mixer a Good Cleaning
Then, you will want to give the surface of the KitchenAid a nice clean and polish. Smooth and clean surfaces are ideal here. When your surface is spotless then the paint sticks better, therefore achieving a better result!
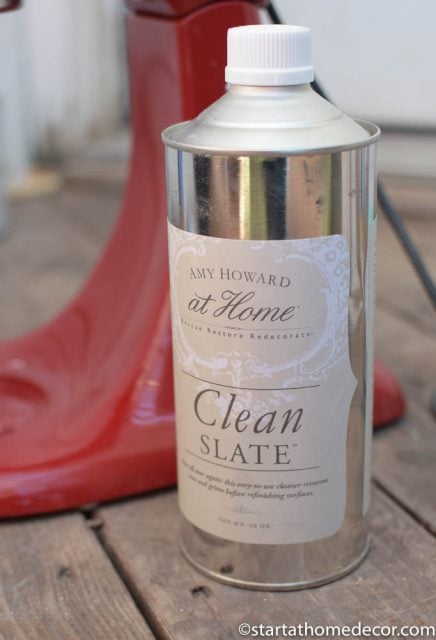
To achieve this I used this amazing Amy Howard Clean Slate refinisher. This cleaner was a cinch to use and removed all the grime from my red mixer before refinishing. Just grab a cloth and wipe. No skills needed!

Tape Off Areas
Before spraying the old mixer with your color of choice, you will definitely want to tape off any areas that should not be colored.
For example, the metal strip, any knobs that may not come off, cord, or any of the silver hardware pieces. Just use painter's tape to do this. It will peel right off afterwards and won't leave any sticky residue behind.
Spray Paint
Now comes the fun part! I chose to use Amy Howard's At Home Lacquer spray paint in Belize. The trick with this spray paint is to apply very thin "dust" like coats of spray paint to avoid any runs. This will ensure a smooth professional looking finish.
The picture below is after one coat. Before applying a second coat I let it get completely dry. Then I applied 5 more coats like this, also letting each coat dry before applying the next.

The Top Clear Coat
After all the red was covered, I applied 3 coats of a Clear Lacquer to add extra protection.
The Final Result

I really loved how it turned out! It accents the color choices in my kitchen beautifully, especially my cute painted stools. Instead of a bold red that doesn't match, I now have a mixer with a cute pop of blue and it looks like a completely new appliance! Now I have some extra incentive to put my baking skills to work!
Try it out and see for yourself. Refresh your KitchenAid and see how easy and simple it can be!

It looks like a whole new mixer and is a great accent piece in my pantry.
See our full pantry makeover here!


Leave a Reply