
An easy DIY porch swing bench to compliment your outdoor space.
Are you dreaming of your own porch swing but feeling overwhelmed by the cost and complexity of building one? Transform your front porch into a stunning outdoor space with these easy instructions for a beautiful new porch swing. With a little creativity and some DIY know-how, you can easily make these dreams a reality.
In this article, we'll break down the steps to creating your own DIY porch swing, using affordable materials and beginner-friendly techniques. Get ready to transform your porch into a cozy oasis with our guide to building the perfect DIY porch swing.
DIY Porch Swing Plans
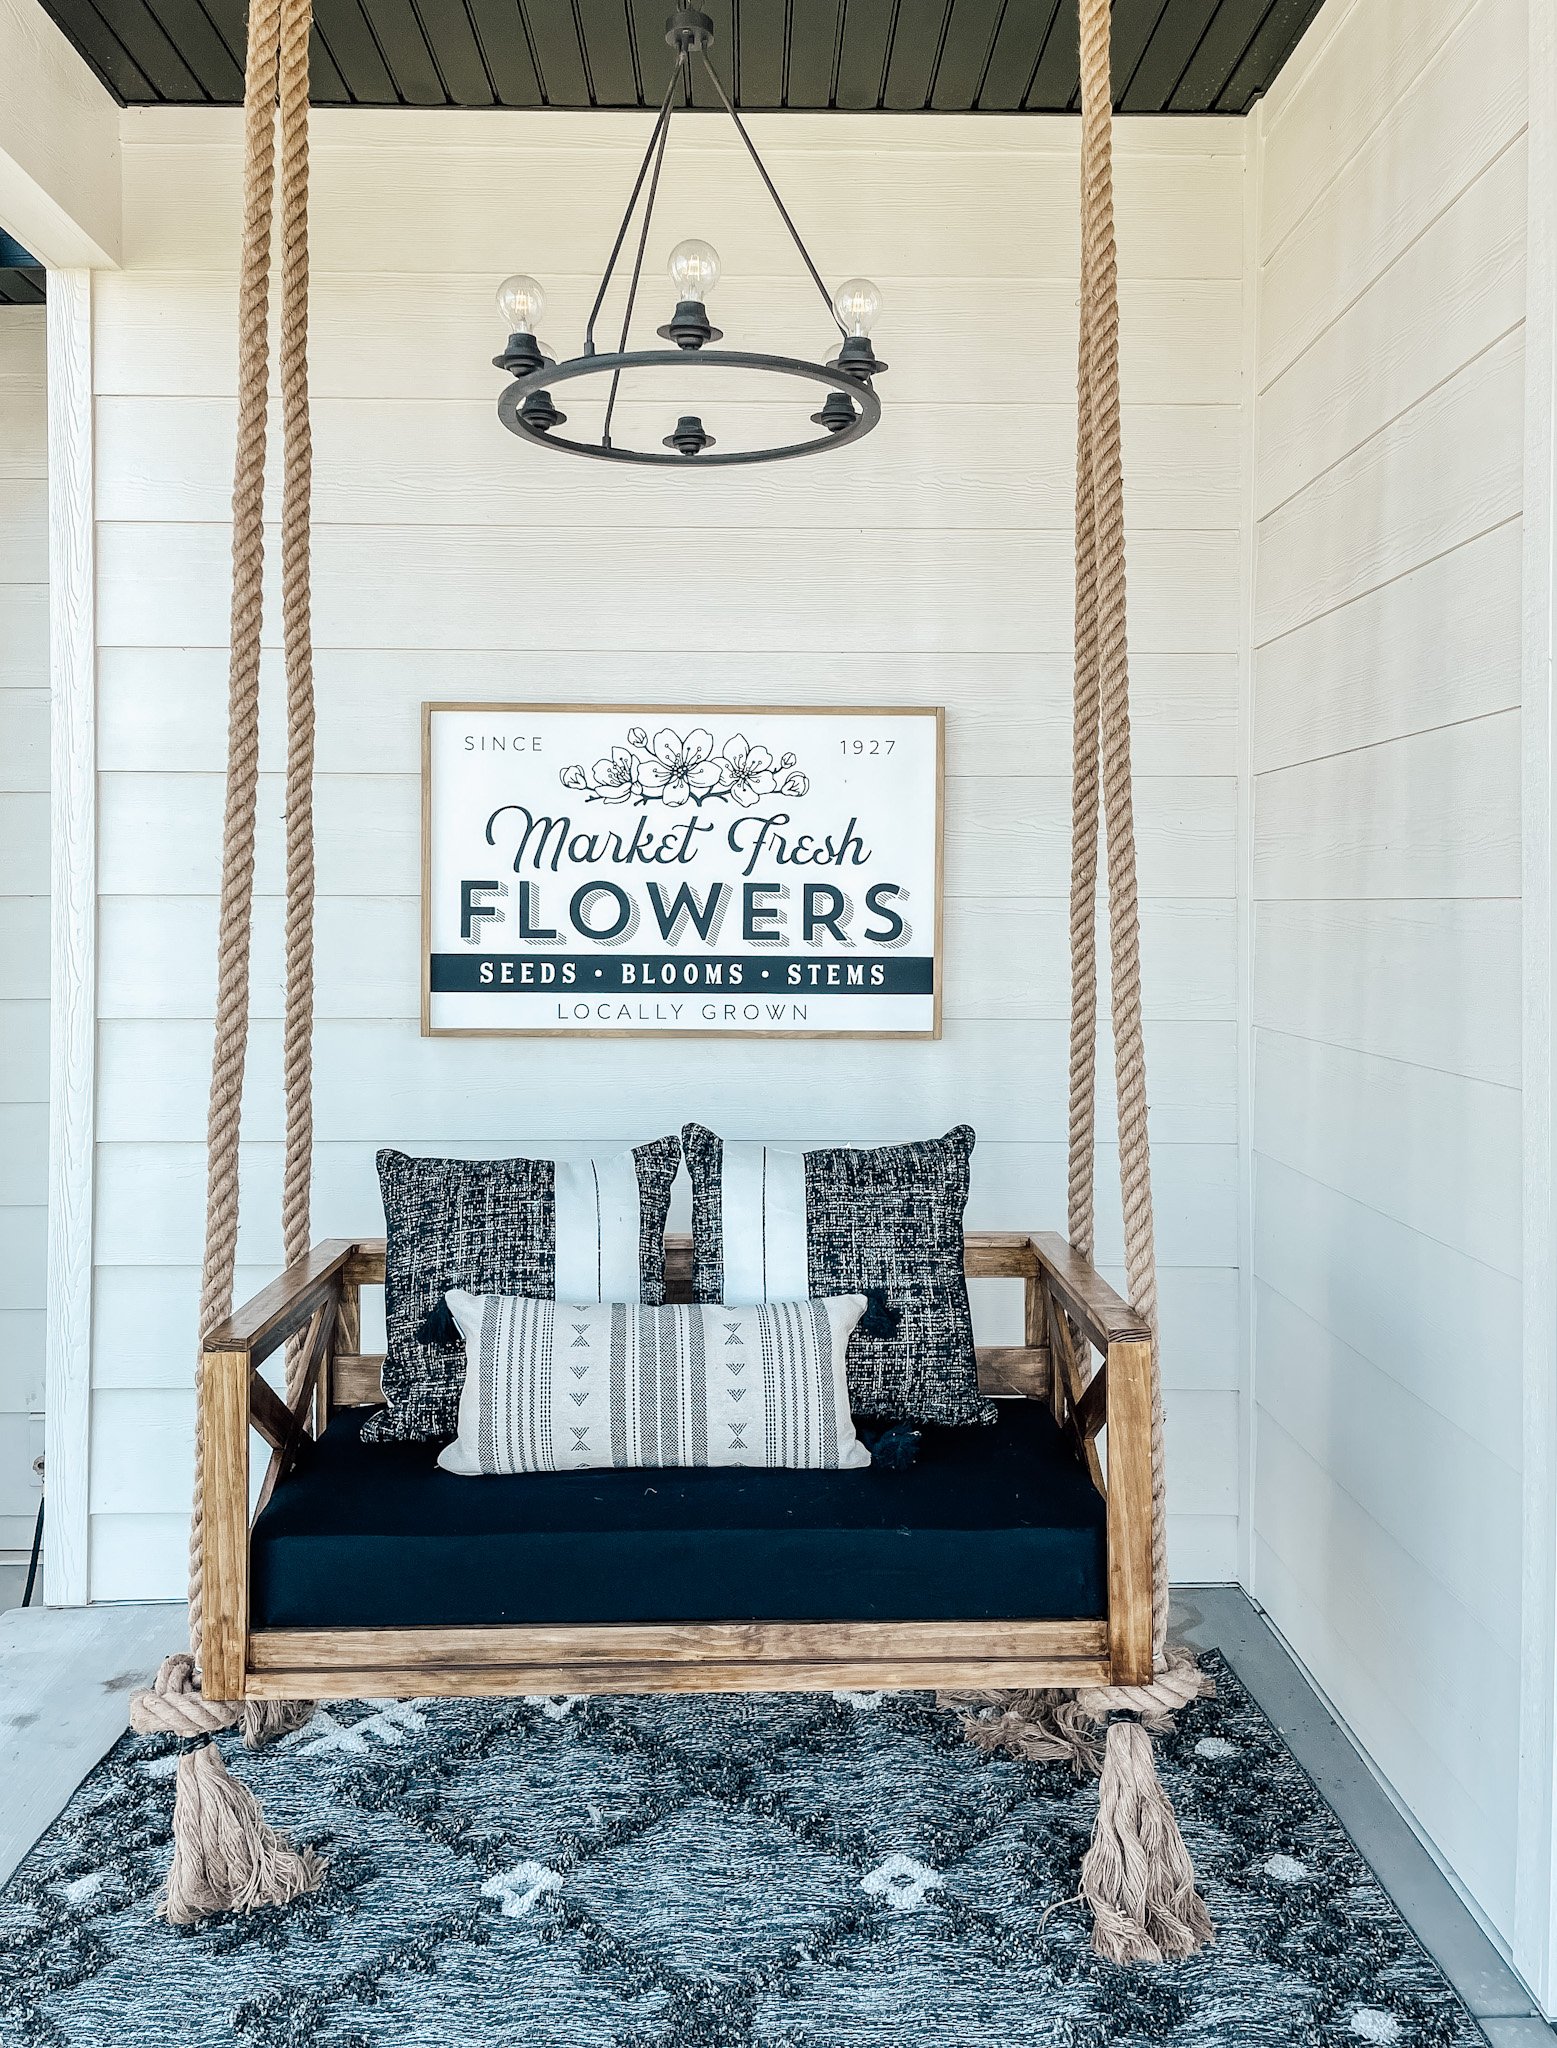
When we built our home there was a little alcove on our front porch. Originally there was supposed to be a window, but during construction the window was removed. It became the perfect place for an outdoor swing. However, because finding or making cushions for benches can be tricky, I opted to go with a porch swing that would fit a crib mattress.
After some research I found Plank and Pillow step-by-step instructions for a DIY porch swing bed. They are what I used. However, I changed up a few things. Details below.
These free plans will also fit a crib mattress. And here is a free porch swing plan without a cushion.
Tools Needed for DIY Porch Swing Plans
Supply List
- 1x2s , 1x3s 1x4s and 1x6s (Plank and Pillow has the cut list of wood pieces in their plans)
- 2" Jute rope
- 4 U brackets
- 2 Ring hangers and 4" screws (found at Lowe's)
- Crib mattress and sheet
- Aged Oak gel stain
- 150 Grit sandpaper
- Clear lacquer top coat
- Wood glue
- Stainable wood putty
- Tape measure
- ½" drill bit
- Circular saw
- Brad nails aka finish nails
How to Build a Simple Porch Swing
Gather Supplies
When I went to Home Depot to pick out supplies from the material list, I felt pine was the best wood for this project. It is a little more expensive than common board because it is straighter and stronger, but not as expensive as oak.
Oak was preferable to match my front door. However, instead I will use aged oak stain to match the outdoor swing and my front door.
Assemble the Swing
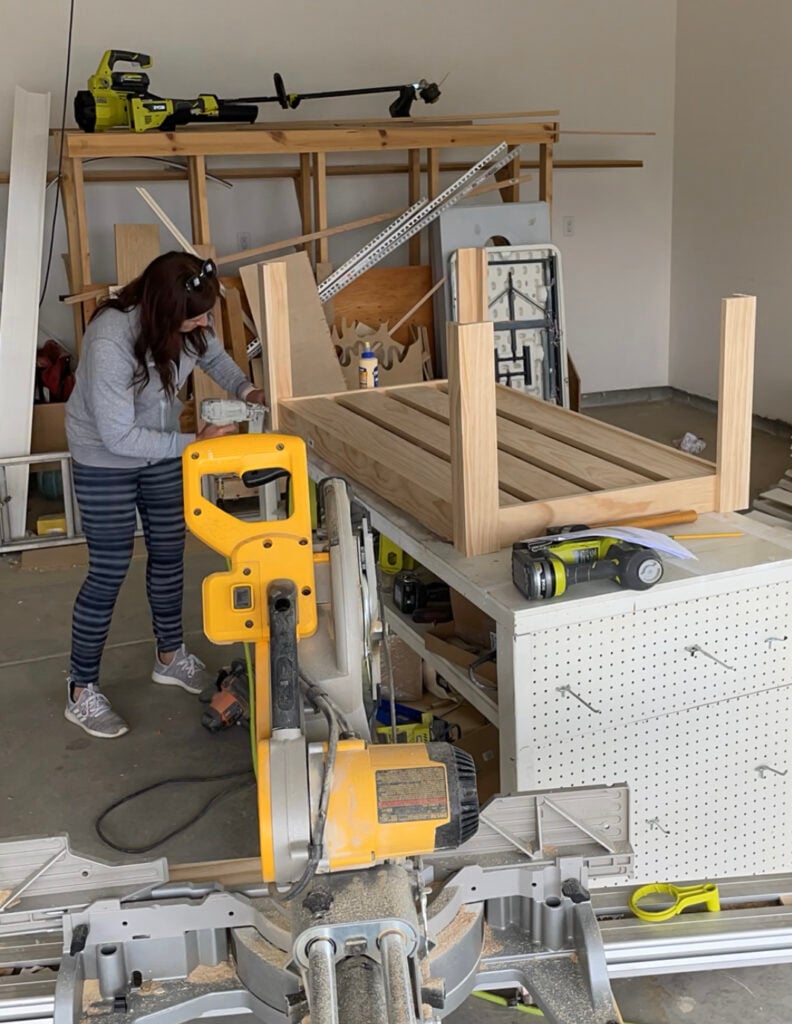
Step 1: Cut Pieces
Cut all pieces from your blueprint DIY porch swing plans down to size and begin to assemble. I put this together on my DIY garage workbench.
Step 2: Build Seat Frame and Supports
Begin with the seat frame and then add the seat supports. To put the bench together I am using finish nails, finish wood screws (deck screws also work) and wood glue. Finish screw heads are smaller than a normal screw. This makes them easier to sink into the wood.
Pocket holes are also a great option to put everything together. The second plan listed above shows how to use pocket holes.
Step 3: Add Side Rails
Next, add the side rails for the arm rests on your swing seat. I love the X details because it fits in perfectly with the cottage style of my home.

Step 4: Attach Supports on Back of the Swing
Now it is time to add slat supports on to the back of the swing. I added the long back slats and then a middle support for added strength to the back supports. To finish off the building process I added trim wood pieces on top of the swing frame.
Prepare Swing Frame for Stain
Once your farmhouse porch swing is built, go back and use stainable wood putty to fill any nail or screw hole. If you ended up using pocket hole screws, you do not fill pocket holes. Make sure all of the pocket holes are on the back of the swing and not visible from the front.

Sand the Porch Swing
Use a sander to sand the bench down with 150 grit sandpaper. Follow up with 220 grit sandpaper to smooth out any scratches on the wood surface of the frame. Exercise a little patience and make sure you do a good job sanding.
Stain the Porch Swing Bench
The next step is to coat the wood with stain or paint. I prefer to use stain because it holds up much better. I used Minwax Aged Walnut gel stain on the whole thing. Gel stain is a little harder to use than a normal penetrating stain. I had to use a gel stain on my double front door since it is fiberglass.
If this is your first time working with a gel stain, do not use your bare hands. Gel stain is similar to paint so you don't want it to leave globs or drips. Be careful not to apply it too thick. Gel stain does dry quickly so make sure to work fast and in small areas.
Use however many coats is needed on the entire thing to get the color how you want it.

Sealing the Bench
I can't stress how important it is to seal outdoor projects, especially wood furniture. Spend a little effort here to get a beautiful finish on a nice swing. A great option is a spray-on spar-urethane. I like to use a top coat in a spray can because it goes on much smoother and more even. Make sure to apply at least 4 coats.
It is a great idea to reseal your bench every few years because of harsh elements and natural weathering. Let your porch swing completely dry before hanging it.
How to Hang a DIY Porch Swing
For this porch swing, we chose to use a 2" thick jute rope. However, it complicated the method in finding a way to attach the top to the bench swing in the ceiling. But because I love the look of thick rope, it was worth the 50 trips to Home Depot to figure it how to do it correctly.
The best solution are these U bolts. We used a drill bit to drill through each corner of the bench. I then pushed the U bolt through and used nuts and bolts on the other side to hold them on.
Attach Bench to the Porch Ceiling
Find the Trusses and Attach Rings
Next, find the trusses in your ceiling. You have to attach your bench to the trusses or it won't be strong enough when people sit on it.
We went back and forth on what to use to hang our simple porch swing. Ultimately we went with a 2" ring. To attach it to the ceiling we used four 2 ½" screws. If you have smaller rope you can use eye bolts or another name for that is eye screws.

Thread Rope Through U Brackets
Thread the jute rope through the U brackets and tighten the nut and bolts. This will hold the rope in place for now.

Thread Rope Through Ring and U Bolt
Next, thread the rope up through the ring.
Then bring the rope back down again through the U bolt. Pull the rope tight and tighten the U brackets as tight as they can go.
Repeat this on the next side. Pull out the level and make sure to level the bench as you thread the rope through.

Tip: Jute rope can stretch out a bit. My husband and I tightened the U bolts as tight as possible and then sat on the bench. The rope did give a little.
Adjust the Rope as Needed
After testing out the bench, we loosened the U bolts slightly and made the bench swing a bit higher. Once it was where we wanted it we tightened the U bolts back up.
To finish off the rope I tied a knot just under the U bolt. To make sure the knot didn't loosen I zip tied my knots.
We officially have a beautiful porch swing! My husband was a little skeptical on how strong this is. But I am happy to report back that after two years this bench is still going strong and holding.
Crib Mattress for the Bench Seat
When looking for a mattress make sure that it is waterproof. This is going to be outside all the time so don't worry about getting the nicest one available. I ran over to Target and found their cheapest waterproof mattress, but you can also find a waterproof crib mattress on Amazon.
To cover the mattress I order crib sheets. They do fade in the sun, so I am on my second one. However on Amazon they are only $14 for 2. So it is pretty cheap to replace them.
Shop This Post
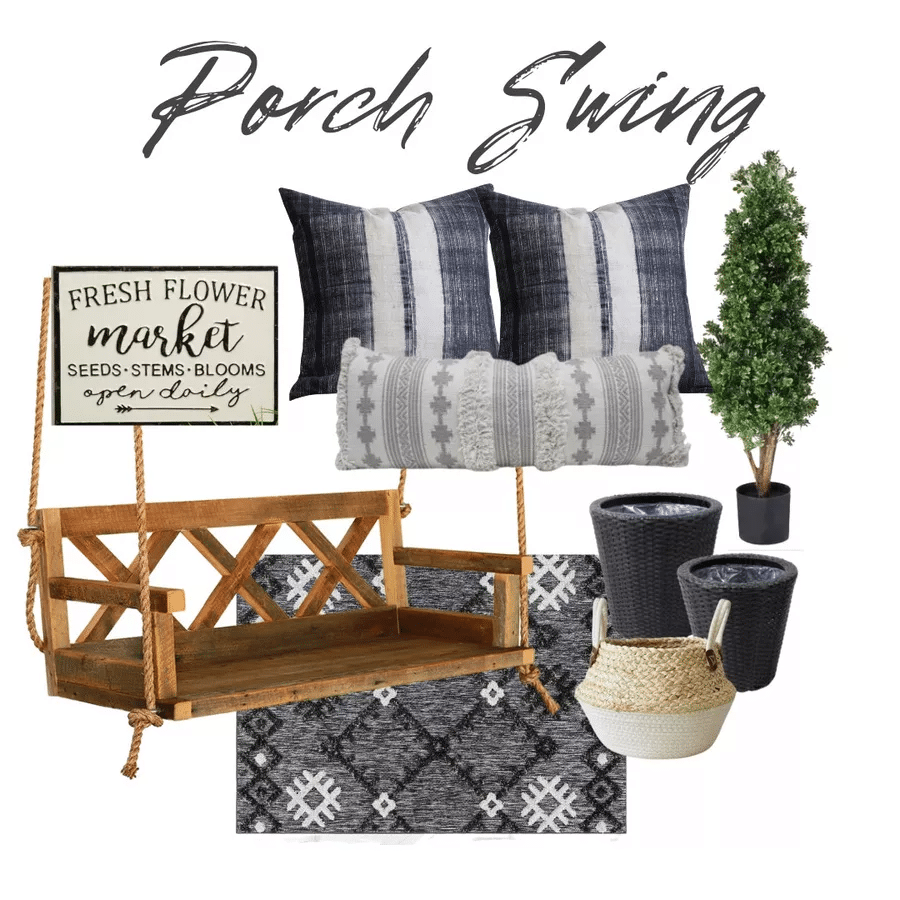
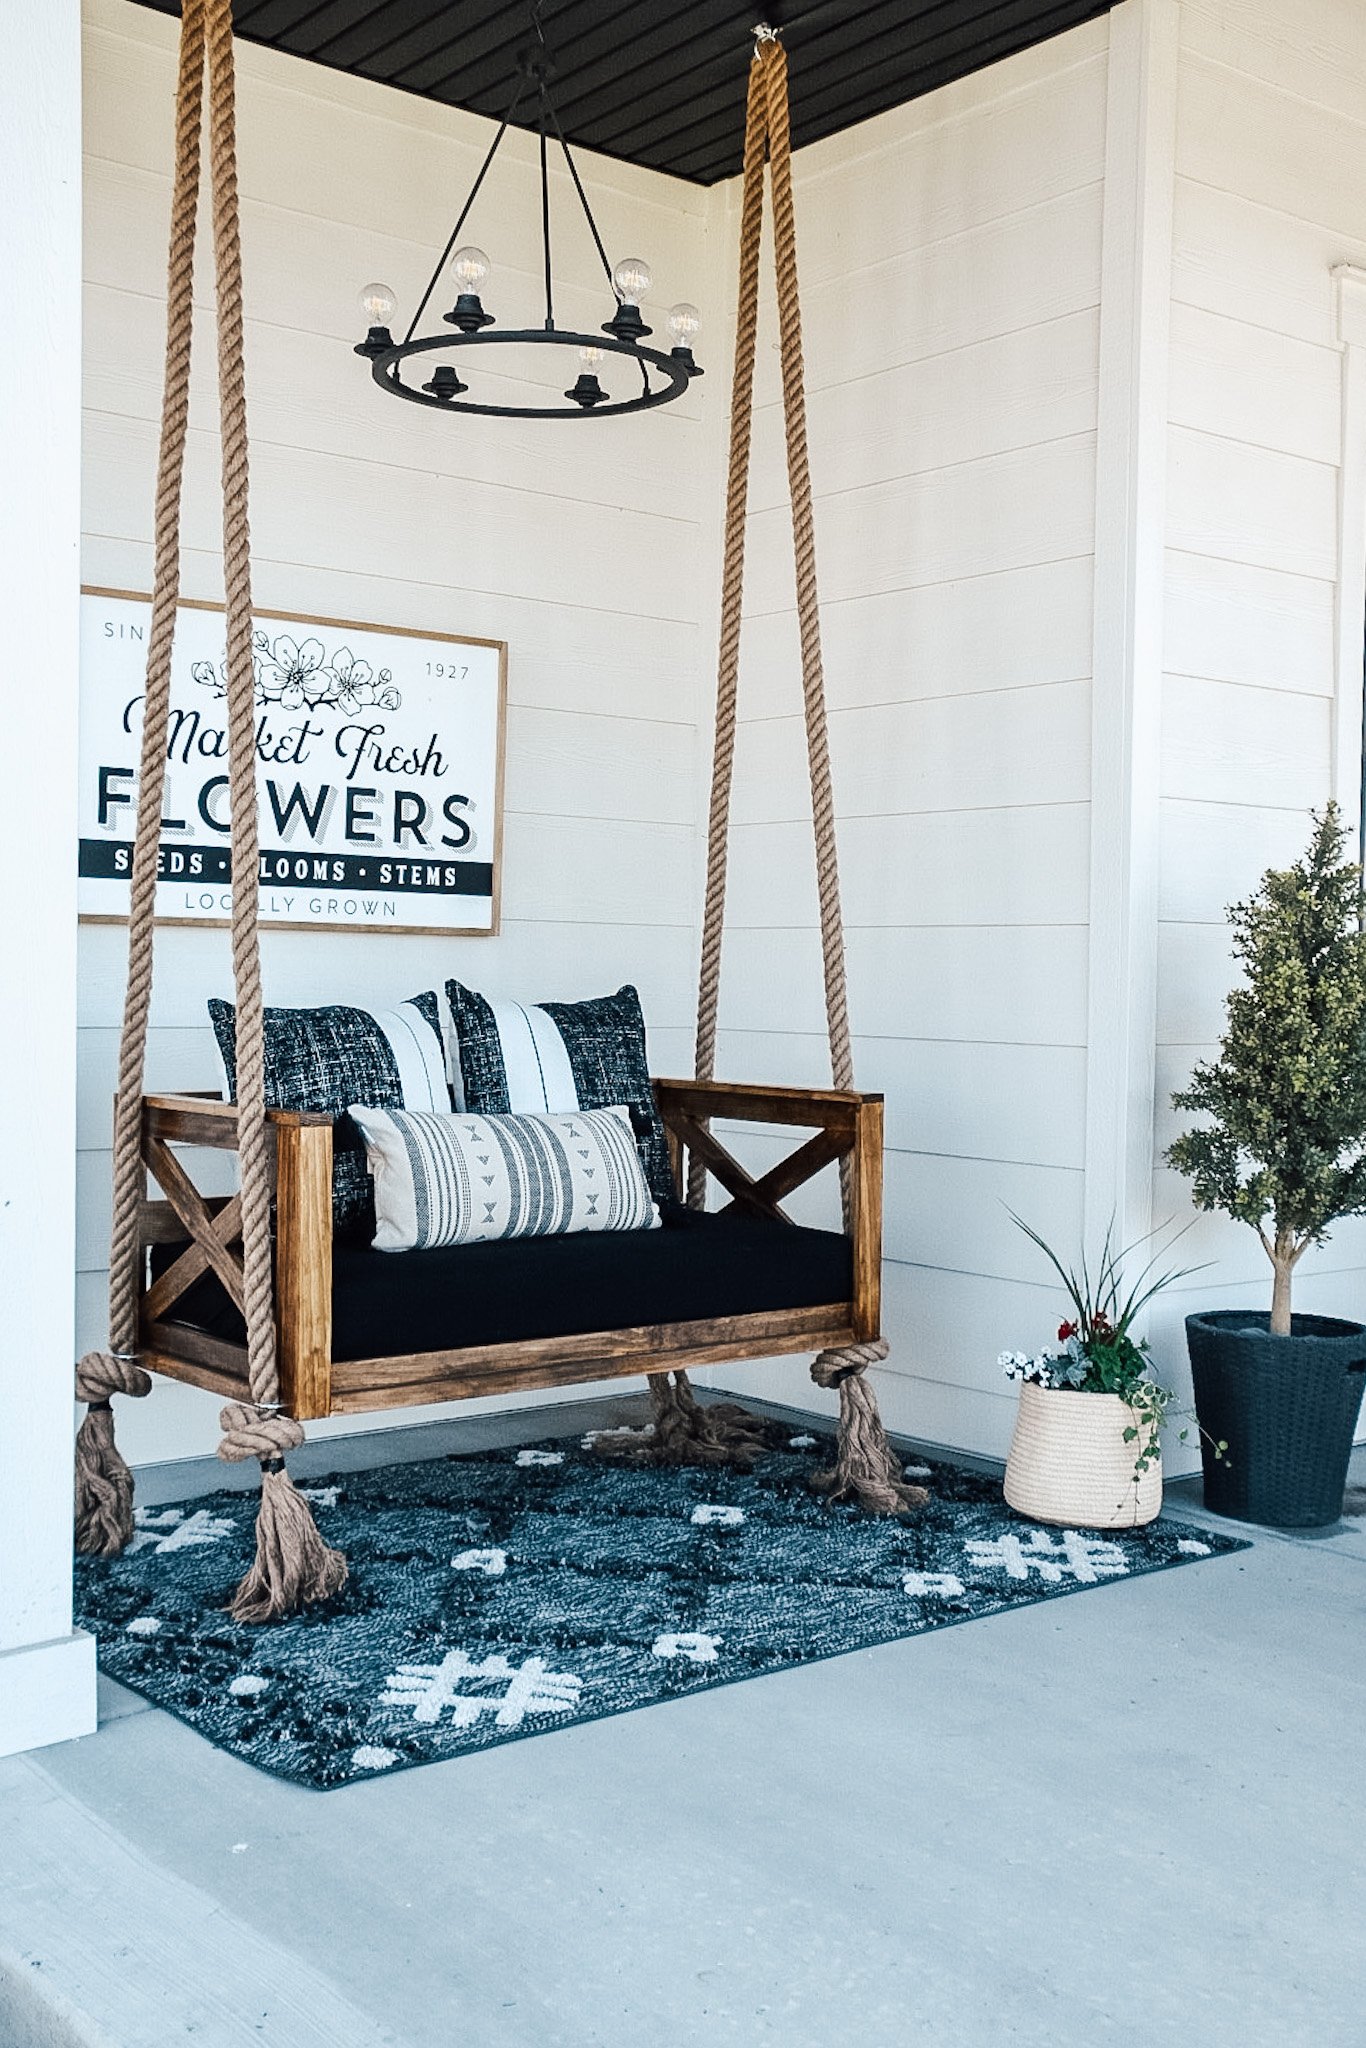
Decorating a Porch Swing
Finish off the porch swing with some exterior decor such as a rug, toss pillows, artwork and greenery. To define this space I used an outdoor rug that helps to add warmth and texture.
This simple addition of a DIY porch swing to your outdoor space can bring so much joy and relaxation to your life. It can save you on cost, as well as provide individual customization for your porch space. And don't forget about those warm summer nights where you can now relax and enjoy time outside with your family.
Happy Building!
Brooke


Leave a Reply