Repurpose an old dresser into a bench with this fun DIY tutorial.
When finding a vintage piece of furniture in quality condition it can be just like discovering buried treasure. For all of you repurposing furniture fanatics out there, you can relate to this! But it's hard to pass up a decent piece that has the potential to be something awesome.
On a thrifting adventure a few years ago, I came across an old unwanted dresser at a garage sale. The old dresser was in decent condition. However, it didn't have any drawers. But the French style, including the lovely detailed legs, is one that couldn't be passed up. I brought the dresser home to my garage.

There it sat until I could come up with a creative idea on how to give this unused dresser a second chance. Giving this dresser a repurposed life inspired me to turn it into a beautiful bench. A French dresser turned bench!
Tools You Will Need:
(affiliate links)
- Jigsaw
- Reciprocating saw - optional, but makes life easier
- Hammer
- Sander
- Skill saw or table saw
- Finish nailer
- Rapid Fuse
- Bead board for additional support or replacing wood
Dresser Turned Bench Detailed Tutorial
This is a great DIY project to give some old furniture a new life. You can also grab this step by step furniture prep e-course here. Follow along below to see this dresser transform into a stylish bench.
Step 1 - Remove Dresser Drawers
Remove all or part of your dresser drawers. I only removed 4 of the 9 drawer slots because I wanted the bench to have some storage space. Use a hack saw and jigsaw to more easily remove the drawers.

Step 2 - Bench Seat and Back
Once the drawer boxes are removed, make the seat and back support for the bench. I attached the wood and bead board with a finish nailer and Rapid Fuse.
Since there are no drawers I lined all the drawer boxes with bead board for a nice finished look! This is an easy solution and durable finish in place of drawers when you still need some shelf support.

Step 3 - Sand Entire Bench
Sand down the whole project before adding paint and stain, especially if there is previous paint on your furniture piece.
Step 4 - Paint and Stain
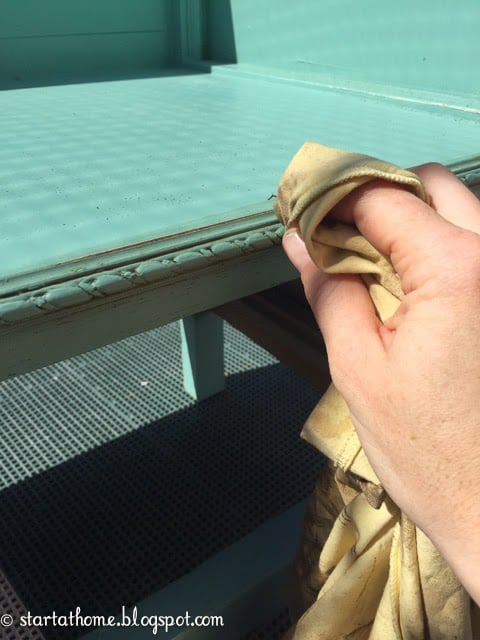
I painted the bench using Sculpting Clay by Valspar for the bottom gray part, and I stained the bench top with General Finishes Antique Walnut Gel Stain. To make the details really pop I used a white latex paint to accent and to give it a distressed look. More tips on prep for painting furniture here.

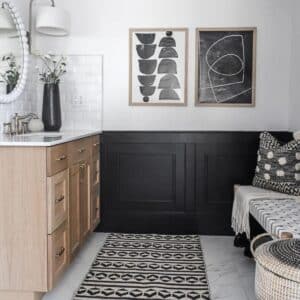
How to Style This Finished Product
Here is the after! Isn't it so stunning and unique? This fantastic bench can be styled a variety of ways.
- Place it in a mudroom and use as a stylish shoe storage unit
- Style it in your front entryway for bench use and shoes and bag placement
- Place in a little girl room to use as a reading/writing bench and book storage
- Use it to store and show off all of your treasures

French Dresser Turned Bench
Just look at that gorgeous detail of this French dresser turned bench. Details like this in furniture pieces are why I have such a hard time passing some of these up.

See more of my French furniture restoration here.
Repurposed Dresser into Storage Bench
Here is another option for repurposing a vintage find. This dresser was also turned into a storage bench.
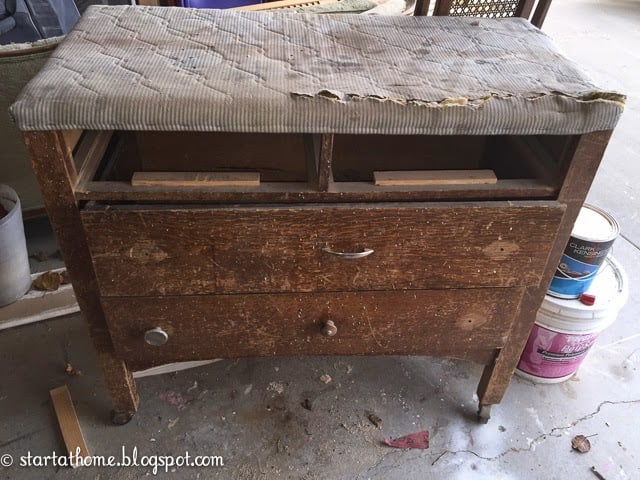
Sometimes you don't realize the condition of your piece of furniture find until you get it home. This chest was in bad shape. It was completely missing the top 2 drawers. The existing drawers needed some repairs. A caster wheel was missing and the top of this dresser was just plain nasty!
Luckily the frame was in great shape and made out of solid oak. This is a great project to turn into a bench!
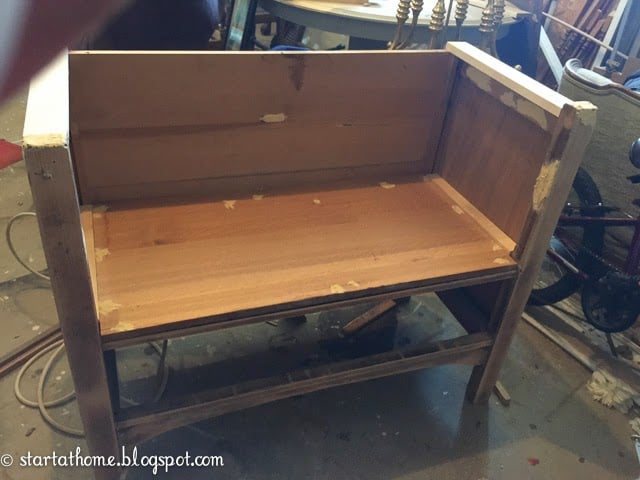
Step 1 - Remove the Top and Drawers
Follow similar steps as with the first bench by removing unwanted pieces. First, remove the top of the dresser. Then pull out the top drawer divider along with the guide and second drawer.

Step 2 - Cut Down to Size for Bench
Next, I used the old top of the dresser and cut it down to size to use as the bench seat.
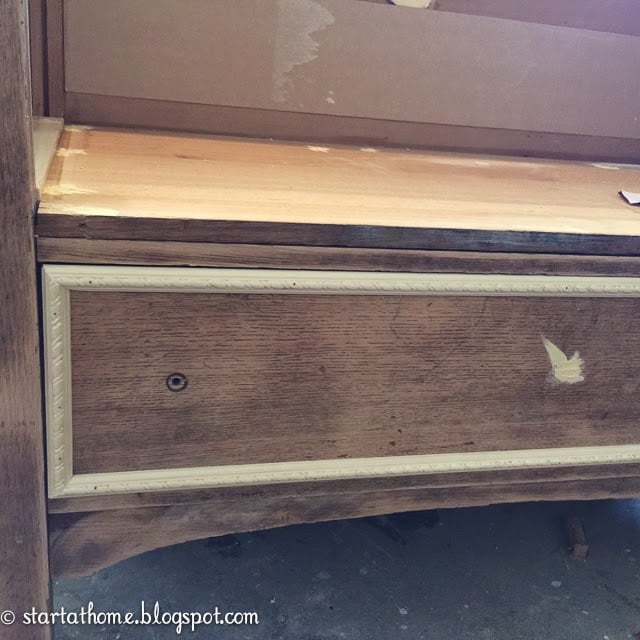
Step 3 - Use Wood Filler and Sand the Bench
Use a wood filler like Elmer's wood fill to fill in all the holes and cracks. After that you can sand the entire bench with 150-grit sand paper until everything is smooth.
Step 4 - Add Character if Needed
While a lot of furniture pieces have plenty of character, this chest didn't have much so I decided to improvise with my own. I added some molding around the drawer to spice it up a bit.
Step 5 - Prime and Paint
Once everything is sanded down it is time to prime and paint. I used my Graco airless paint sprayer for the piece. Prime your pieces of furniture first using Kilz or Zinsser primer in latex. I used Quarry by Pratt and Lambert to paint this dresser turned bench. Check out more latex painting tips for furniture here.
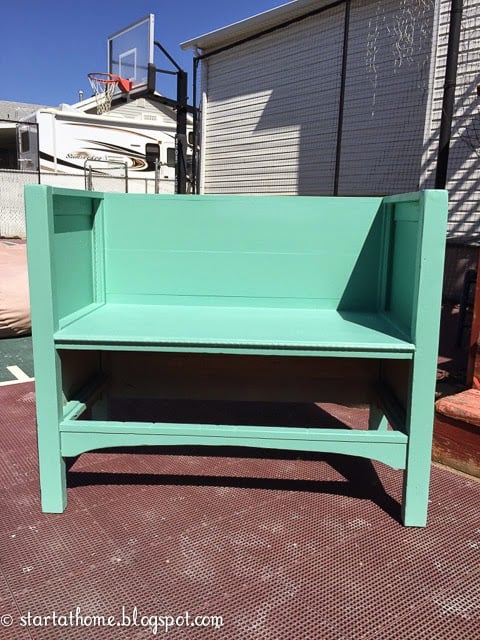
Step 6 - Finishing Coats
After the bench was all painted and dry, I added a brown oil-based glaze to make all the details pop! Then, once the glaze was dry I applied a clear top coat to help protect the bench. You can put on different hardware for the remaining storage compartment.
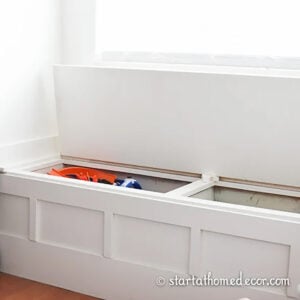
A Beautiful New Bench
The final result is a winner! Who wouldn't love a beautiful repurposed little bench with a working drawer for extra storage. It looks great with my home decor and provides a little extra seating.
Next time you come across a free dresser or two that needs some repairs, keep in mind they can be repurposed into beautiful DIY benches.

Happy DIYing!
Looking for more DIY restoration projects? Take a look at how to update an old grandfather clock or how you can restore an old dining chair. Oh, don't forget how to bring a curio cabinet back to life!


Mindi Carwin says
So awesome!! I love it!
Marie Blackburn says
I love your dresser turned bench Brooke. Fabulous furniture repurpose! The color is beautiful and love the knobs you used too.
Marie@The Interior Frugalista
JennyMae says
What a great idea! Wish i could find a nasty dresser somewhere:-) Love the color, it's beautiful!!!!!
Patricia Kocsis says
I just love the bench you made! The added moulding was a great touch, too.