I love to make a small bathroom bright and bold. After decorating my daughter's bedroom it was time to give her bathroom some bright colors and great style. My daughter's bathroom was a little bland. But, we can can fix that with these DIY bathroom ideas and check out my money-saving tips when it comes to adding tile to your bathroom.
Before Bathroom DIY Remodel

Since our home is brand new everything was in good condition and we didn't need any structural changes. This project wasn't a big undertaking just a fun update to fit my daughter's personal style.
When we were building our home I wanted to make sure our bathrooms all had neutral colors. This allows for simple changes down the road. Plenty of homeowners enjoy neutral bathrooms especially for a guest bathroom. If you have an old bathroom that needs an update I made a list below of the neutral finishes we used in the bathrooms.
Options for Neutral Hard Finishes in Your Bathroom Space
- White Paint - My walls are Snowbound by Sherwin Williams
- New Vanity - Custom made white oak vanity by my cabinet company
- Countertop - Quartz with slight graining to resemble marble.
- Ceramic Tile - I went with a bathroom floor tile that looks like marble.
- Towel Hooks - Gold hooks are a great way to bring some style to the space.
- Bathroom Mirror - I loved the boho shape.
- Light Fixtures - This vanity lighting matches the chandelier in her room
- Gold Drawer Pulls - I wanted the hardware to be subtle but still match the rest of the bathroom.
Creating a Design Plan
In my daughters room we added a fun accent wall last year (full post here) When you walk in to her bedroom you can see the bathroom and her accent wall at the same time. This green wall will be the color scheme of her bathroom as well. I also found a very bold and very gorgeous wallpaper which made a huge difference to this entire space.

Bathroom DIY Projects
Tile is a great way to give your bathroom a fresh look. So the first thing I did with this bathroom diy project was add tile.
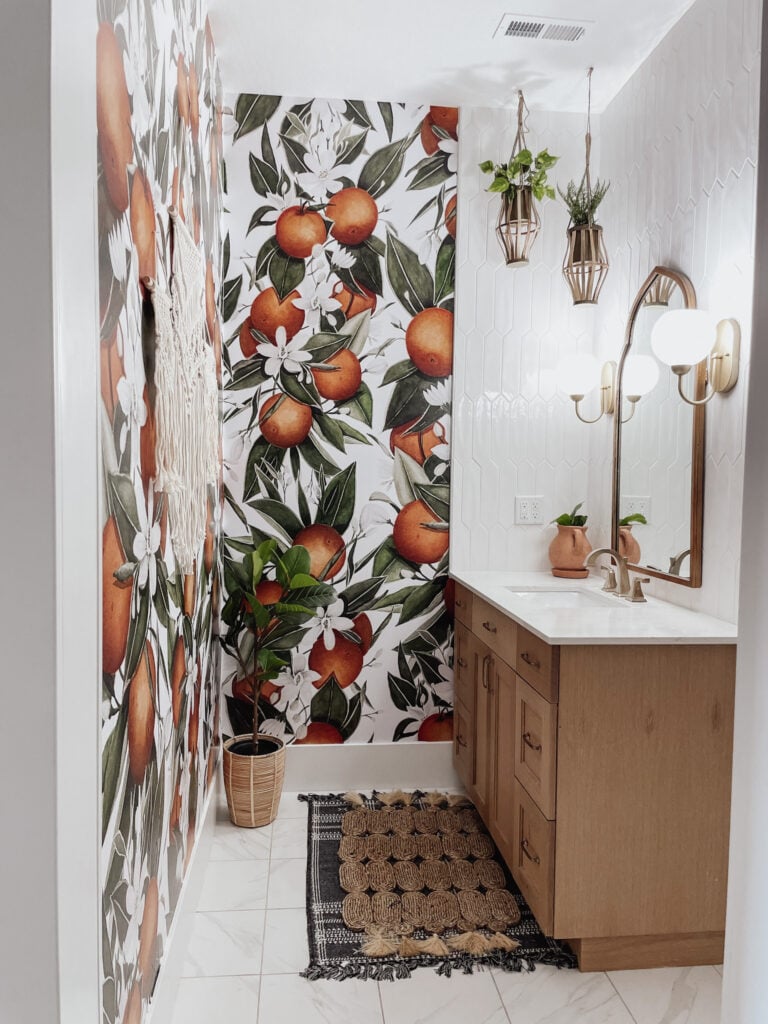
Instead of subway tile, I went with these fun crayon tiles to go around her countertop for a more modern look. I took the tile all the way to the ceiling which made a big difference to the overall bathroom feel.
Money Saving Tip- DIY the Tile Installation
For installation you can view all of my tips and tricks below. I put my DIY skills to good use and it saved me so much money to install the tile by myself.

I love the overall look the tile brought to this small room. It brought in a fun and unique pattern and taking the tile all the way to the ceiling made the whole space feel bigger and more modern.
This tile is so versatile it can be used in many different areas of your home. It looks similar to traditional subway tile but give it a more modern look. Which is perfect for my daughter's bathroom. Tile is easy to clean and durable as well. It provides a beautiful and functional backsplash around the sink.
Supplies for Tiling a Boho Bathroom
- Bright white crayon tile - daltile
- Mapei avalanche grout
- Mapei avalanche caulk
- Thin set
- Sponge
- 1/16" tile spacers
- Grout Trowel
- Tile Trowel
- Level
- 2 buckets
- Schlueter for Tile edge - Lowes
View my YouTube Video on How to Install Tile
Tips for Installing Tile
- Make sure the countertop is level. If the countertop is not level make a level line. The first row will determine how the rest of the tile will look.
- For a backsplash you can install the tile right to the wall
- I like to use pre mixed mastic from Home Depot.
- Use a trowel and apply it to the back of your tile. Or you can apply it to the wall if you prefer. Just make sure to work row by row.
- Tile spacers are great to make sure everything stays lined up. I like minimal grout on a backsplash so I used 1/16" spacers.
- If you are ending tile mid wall use Schlueter for a clean line. This is a metal edging the tile will bump up to
- Use a level to press your tile to the wall. This will help make sure the tile is stuck tight to the wall and smooth.
Tips for Adding Grout to a Backsplash
- I buy premixed grout. It is easier to store and is always the right consistency
- Apply the grout with a grout float. Make sure to press the grout into the cracks. Go back over the tile at a 45 degree angle from the top and bottom.
- Work in small spaces. Grout dries fast and the residue can ruin your beautiful tile job.
- Remove the excess grout with the float. Then use a wet sponge to get all of the grout off. This make take a few washes.
- Continue to work down the wall.
- Once done adding grout, give it one more good wash to get any excess grout off.
Wallpaper for a Bathroom
A couple of ways to update your bathroom would be to add a fresh coat of paint or you can try wallpaper! I love this bold patterned wallpaper I found. After the tile was done it was time to hang the wallpaper.
Can I Use Peel and Stick Wallpaper in a Bathroom?
Yes, you can use peel and stick wallpaper in a bathroom. This wallpaper has now been up in my daughters bathroom for 2 years and is still doing great!
However, make sure the bathroom is well-ventilated to prevent issues with humidity affecting the adhesive. Additionally, choose a wallpaper labeled as moisture-resistant for better durability
I used peel and stick wallpaper from Anewall. Remember I was trying to make her room and bathroom flow together. Her bedroom has a mid century modern / boho vibe to it.
This wallpaper was the perfect one. I can't tell you how many people told me they hate this wallpaper. But I stuck to my guns and I am so glad I did. Here is how the bathroom turned out! Wow, it is bright and bold. Just what I was going for. Even better? My daughter absolutely loves it.

Tips for Installing Peel and Stick Wallpaper
I do have a complete tutorial and video on how to install wallpaper here
- Before hanging layout your wallpaper. Make sure your design is right side up and you start on the correct side. Peel and stick wallpaper will usually overlap an inch. You want to make sure start on the right side so it overlaps correctly.
- Don't pull all the backing off at once. Just pull down the top and slowly work your way down the wall. Removing the backing a little bit at at time. \
- It is peel and stick, so if you are off a little bit pull it off carefully and try again.
- Take your time and work slowly. Installing wallpaper isn't hard, but it isn't a fast job.
- Use a sharp razor blade to trim
- Use a squeegee to get all of the air bubbles out before moving on to the next piece.
- If seams are off slightly use a permanent marker to touch up.
- Don't use cheap peel and stick vinyl. It will not stick very well and is very thin, making installation difficult.
Since peel and stick wallpaper is vinyl, so it holds up very well in a bathroom. It cleans up very nicely and stays looking great for a long time.

Boho Bathroom Decor
Yes, that wallpaper is very powerful and I love it! I found some accessories that would compliment the wallpaper without competing with it.
The beautiful macrame wall hangings are subtle but add a fun texture to the wall. Together with the wallpaper they make the perfect boho bathroom.
The great thing about the wallpaper making such a statement in this bathroom is that I didn't need to spend a lot of money on wall decor. It just doesn't need much since the wallpaper has so much going on.

I also wanted to bring the leafy green over to the white tile to tie the entire bathroom together. To do that I used these fun plant hangers. The plants are fake so we don't have to worry about watering them.
Light fixtures are also a great way to add function and style to a space. I have added some great options from Amazon below!

Combined with her mirror, light fixtures and other hard finish from the home build we created a fun Bathroom DIY with tile and wallpaper. You can shop all the accessories below!

I really love how stunning the bedroom and bathroom look together. The green from the wall in the bedroom with the wallpaper go so well together. They compliment each other without one distracting from the other one.
This was a rewarding home improvement project for me to work on. It was a good opportunity to go with my gut instincts and embrace the fun, bold interior decor ideas to create the perfect bathroom for my teenage daughter. I hope this helps you create the bathroom of your dreams.
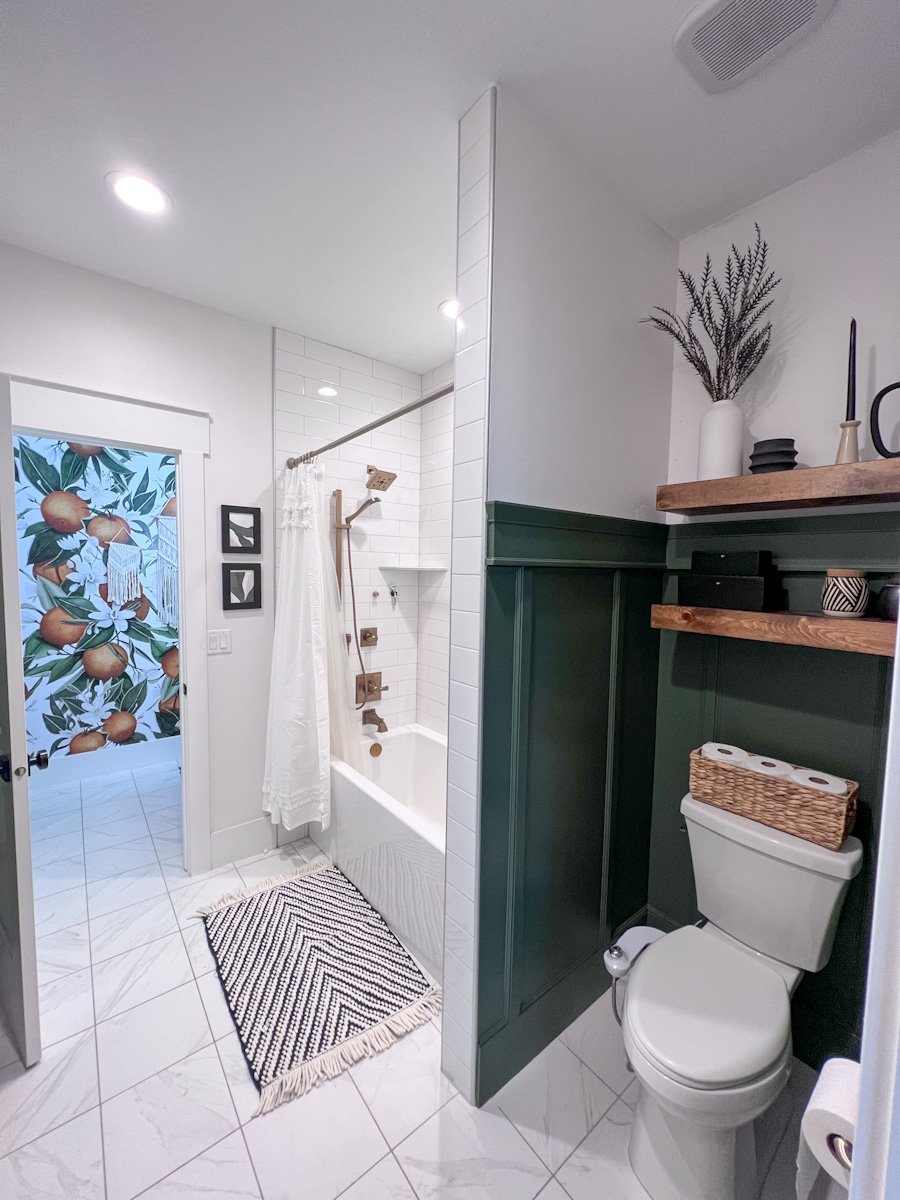
My girls bathroom is a jack and jill bathroom. Meaning they share the shower and toilet area, but both have their own vanity room. I recently finished their shower/toilet area. You can view all of the details on that remodel here.

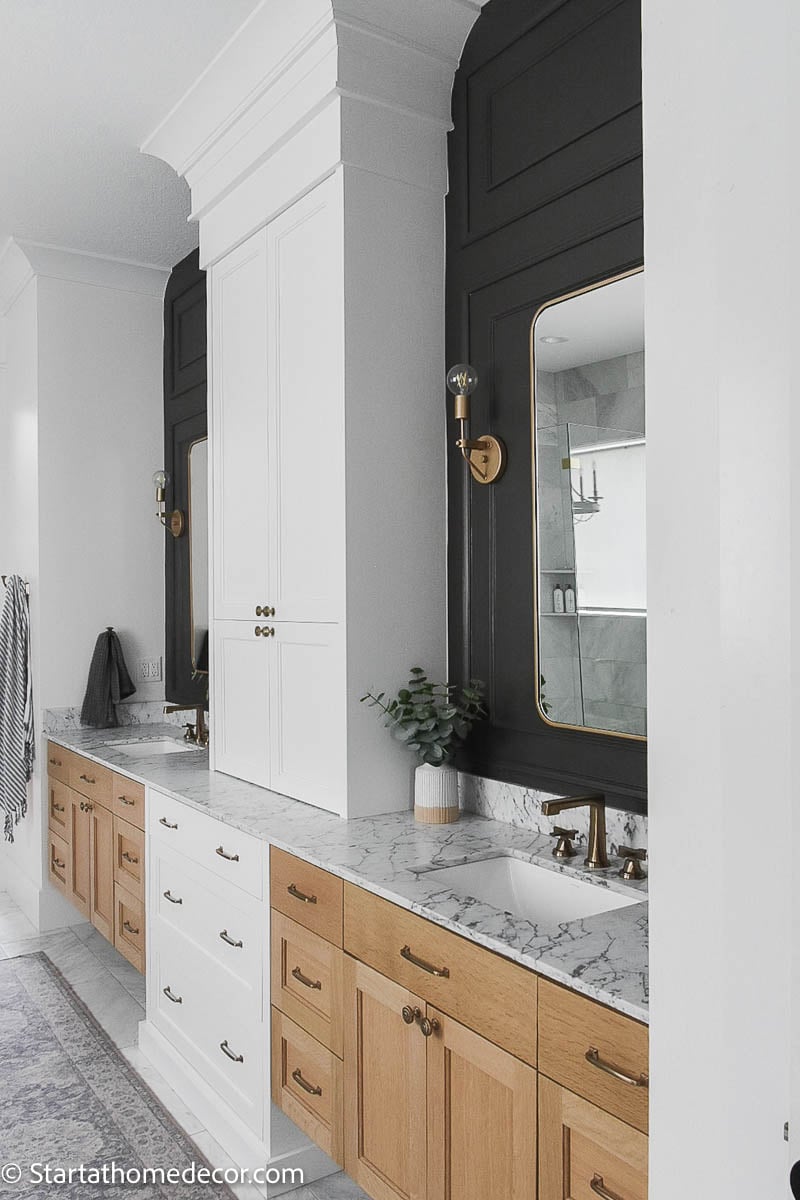
You can also view my master bathroom here.

Happy DIYing
Brooke


Leave a Reply