
Imagine the cozy feeling of curling up next to a fireplace on a chilly winter evening with a good book. Now, picture that same fireplace as a stunning focal point in your living room, adding both warmth and style to your home. With this modern fireplace accent wall idea, this is not just a dream, but a very achievable reality.
Let's explore the latest trends in fireplace design, and how you can transform your space into a stylish and functional haven. Get ready to be inspired and learn how to elevate your fireplace game to the next level.

DIY Fireplace Accent Wall Idea
In our new home we have a keeping room right off the kitchen. It is one of our favorite places to hang out because it has a nice cozy gas fireplace. I wanted the fireplace to be the main focal point of the room. Simple way to do that is to make a paneled fireplace wall.
An Affordable Feature Wall Idea
If you are in the process of adding a fireplace you already know that fireplace inserts and installation can be pretty pricey depending on what type of fireplace you are buying.
A great way to cut costs is by completing all of the finish work yourself, which of course, I am a big fan of!
Good news, a lot of what determines cost and ease of the project depends on the different materials you are using. We chose to work with tile and wood moldings so it was an easy way to accomplish a new accent wall.

How to Create a Fireplace Accent Wall that Stands Out
Creating a fireplace accent wall can seem overwhelming. The easiest way to accomplish the task is to break it down into small steps and work from there. There is a lot that goes into it but it is so worth it and easier than I thought. With drying time it took us about 5 days to complete our fireplace accent wall.
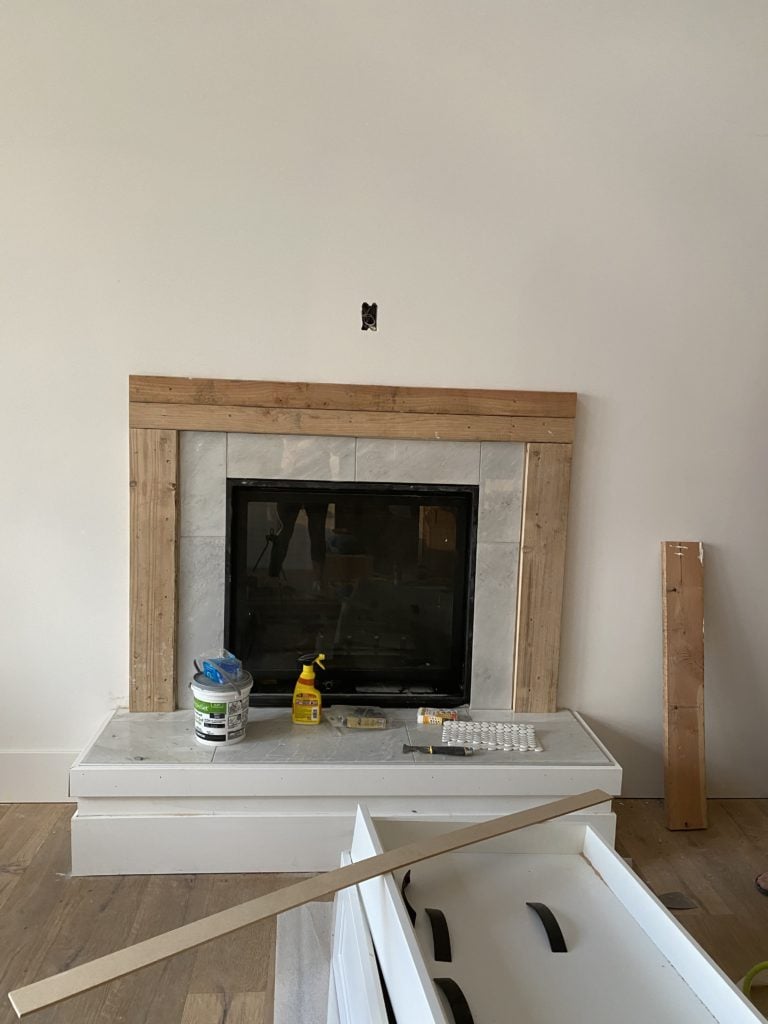
Tiling the Fireplace
To begin, I prepped the area by putting OSB down on the hearth and then cement board on the top. OSB is stronger than typical plywood and it is needed to add strength to my hearth. Cement board serves as a backing for the tile. After placing the cement board, I put on Schluter - the outside silver edge. This product helps to create the perfect way to have a nice finishing edge for tile surfaces.
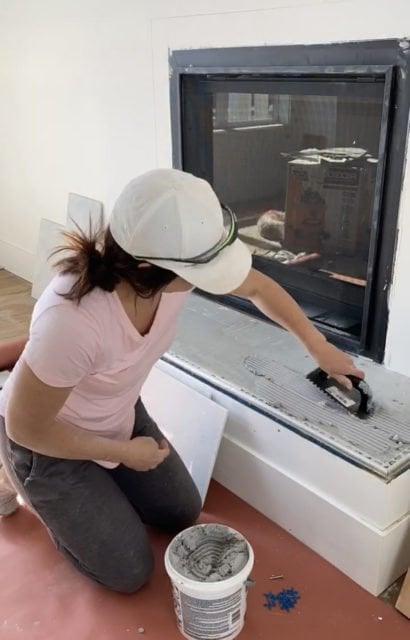
I used ready mixed thin set for laying my tile.
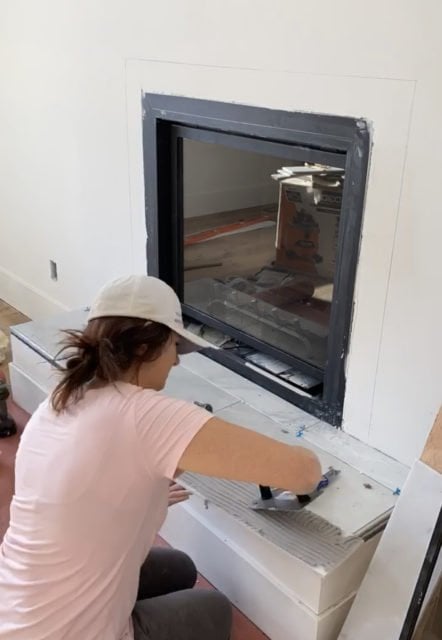
Apply the thin set to the back of the tile and place directly on the sheetrock to have tile surrounding the fireplace. Make sure you also use those little spacers in between your tile pieces so that your grout lines will all be spaced evenly.
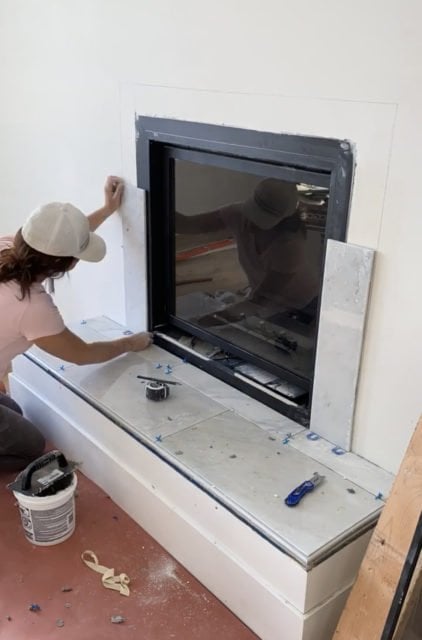
Let everything dry for a day and then you are ready for grout.
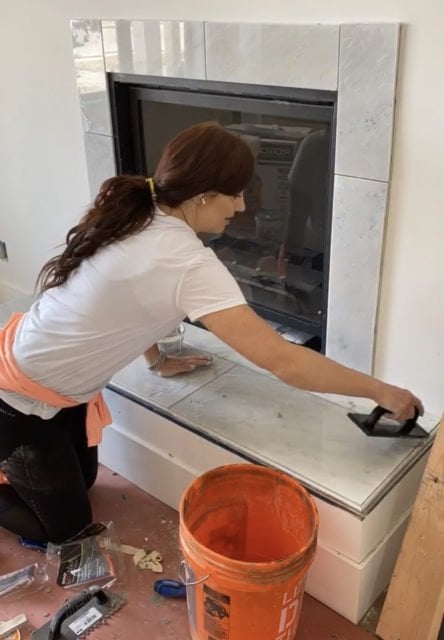
Once the grout is dry you have completed step 1 of a diy fireplace accent wall. Just adding tile gives my room a fresh new look. But we aren't done yet.
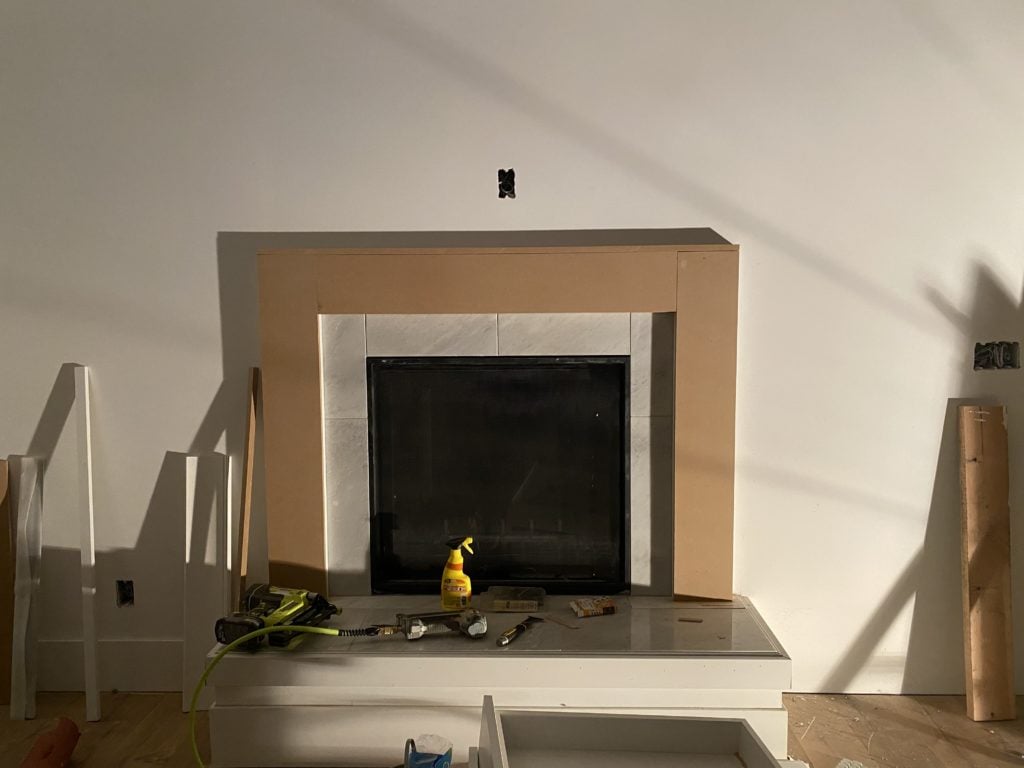
DIY Fireplace Mantel
Now on to step 2 of our fireplace accent wall, the mantel! This is a great way to add an architectural feature.
I framed out the mantel with 2x6's on the sides and two 2x4's on the top. I wanted the top to be bigger than the sides. It's really personal preference here. But I wanted the strength that the wood provides to be the base of the fireplace.
Then I covered the wood with MDF. This creates and nice smooth surface to paint with a color that will be a perfect complement to the rest of the walls.
Now it's time to start adding your decorative elements to your fireplace. We began with this trim piece that is actually used as a header over doors. But I love the look and I wanted my moldings to be stacked so they have a look custom.

We added the same header material around the base of the mantel. Even though that is a small space I think it is an excellent addition.

Then we created rectangles on either side of the fireplace. This is a very effective way to add great architectural details.
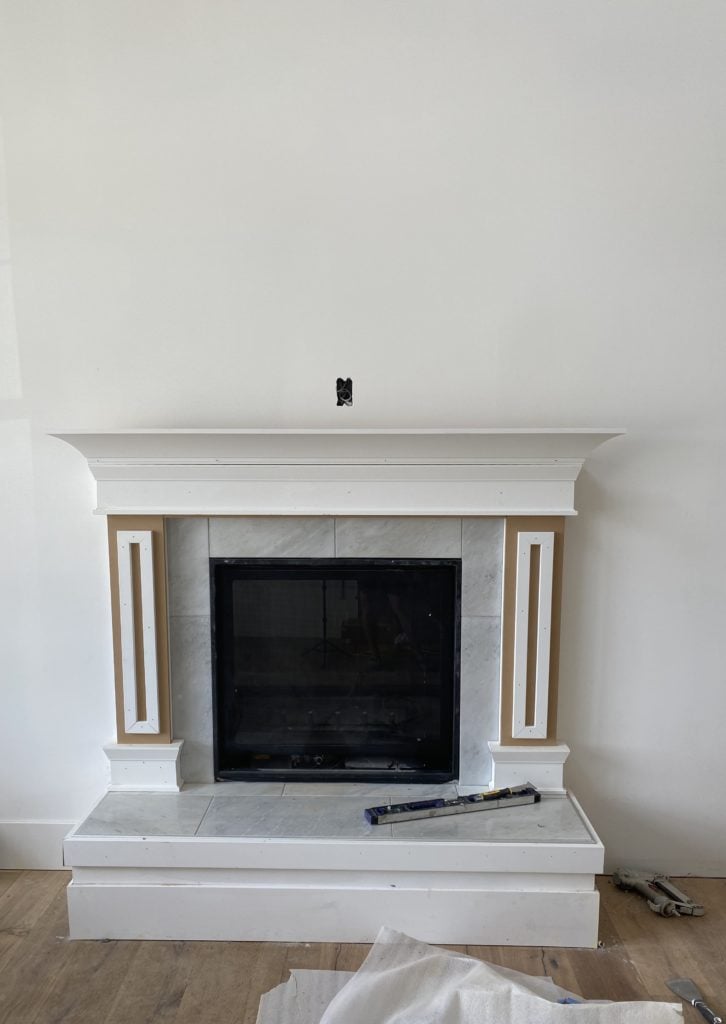
Next we added crown molding to the top of the mantel and then added MDF board on top of that to create the mantel shelf. I love the dramatic look the crown molding creates.

How to Create a Fireplace Accent Wall that Stands Out
Now that the mantel is done and looks great I wanted to add even more architectural elements. In our keeping room we have really high ceilings so this is the perfect opportunity to highlight that feature.
First we framed out all of the decor trim pieces that go on the blank wall above the fireplace. This gave us an idea of the size of our wall so we could figure out spacing.

We added the vertical border pieces first and nailed those in. This is the nail gun I use and love. Pro tip: Make sure to use a level for all of those wood slats.

And then add the horizontal pieces for a unique accent wall.
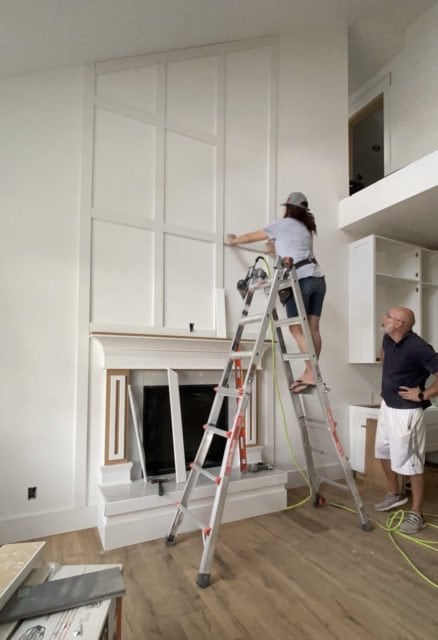
And finally, we completed the rest of the framing above the fireplace. Since this is a mostly white room we decided to use a dark color around the fireplace to contrast with the white walls.

I just love it. Now, not only do we have a really good accent wall, we also have a stylish and cozy room. Using a different color, even though we still have a neutral color scheme, helped make the room feel bigger and brighter. I hope this gives you an idea for DIY-ing some architectural interest to your own fireplace too!

Paint Colors
- The fireplace and molding are painted in Chalked by Benjamin Moore
- The fireplace accent wall paint is called Peppercorn by Sherwin Williams
- Walls are Snowbound by Sherwin Williams
- All of my paint is a satin finish.... except the ceiling which is flat also in Chalked.


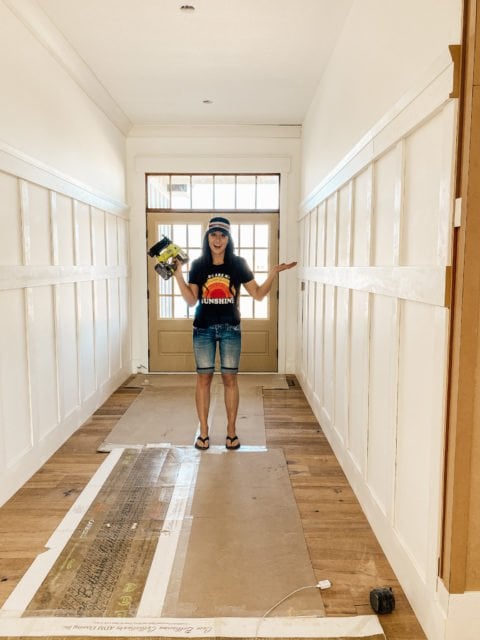
For more wainscoting ideas, see what I did here in the entryway!


Leave a Reply