There’s something so magical about giving old Christmas ornaments a brand-new life. Instead of buying all new designer sets (because… $$$). You can take those outdated ornaments sitting in your storage bins, or grab a few cheap ones from the Dollar Tree. Then turn them into high-end, textured beauties that look straight out of a boutique holiday shop.
If you love neutral, matte, designer-styled Christmas décor, this is the easiest DIY to try this season.
Supplies You’ll Need
- Old ornaments or inexpensive plastic ornaments
- Chalk paint (your favorite Christmas color or neutral tone)
- Baking soda
- Paintbrush
- Wooden skewers or dowels
- Something to stand the skewers in (pitcher, foam block, cardboard box, etc.)
- Optional: clear matte topcoat spray
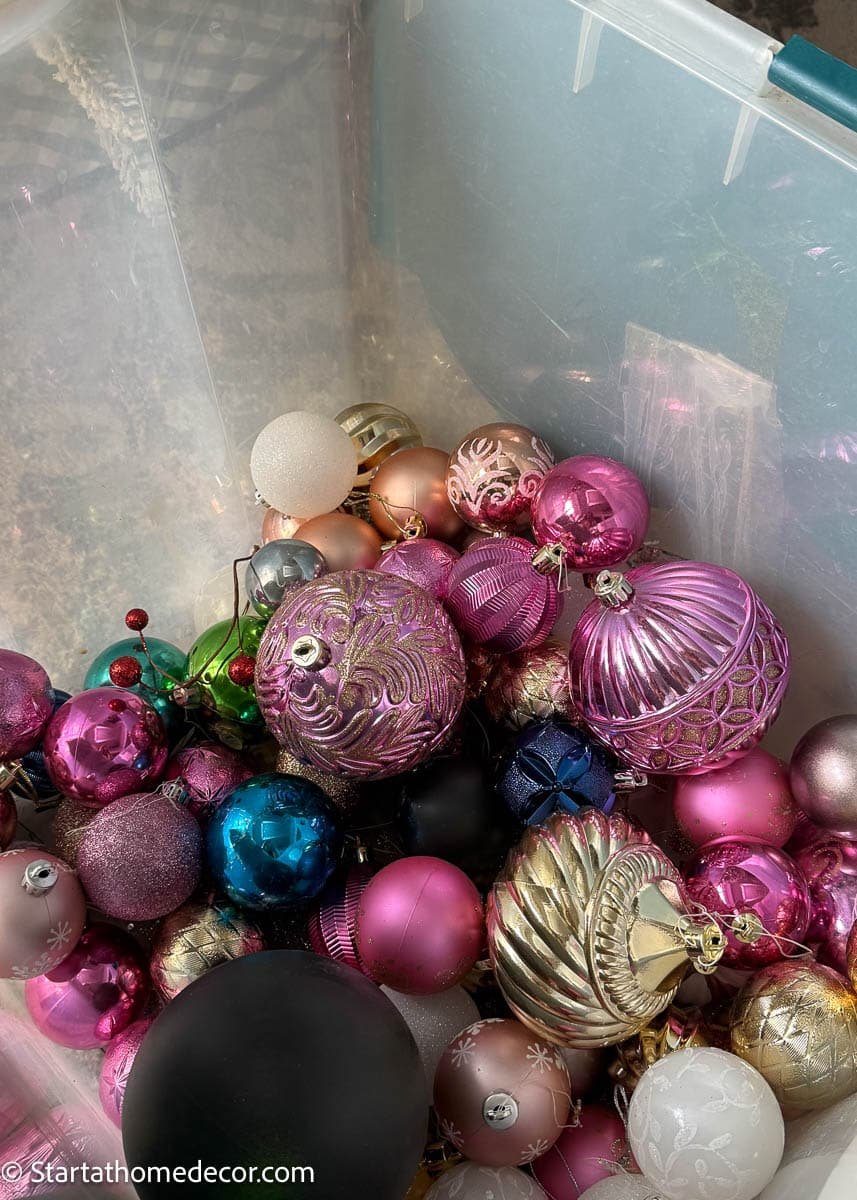
Step 1: Gather Old or Dollar Store Ornaments
You can use any ornaments you already have. The shinier and more outdated, the better! If you need extras, the Dollar Tree, Walmart, or any clearance bin is perfect for finding inexpensive options that transform beautifully with paint.
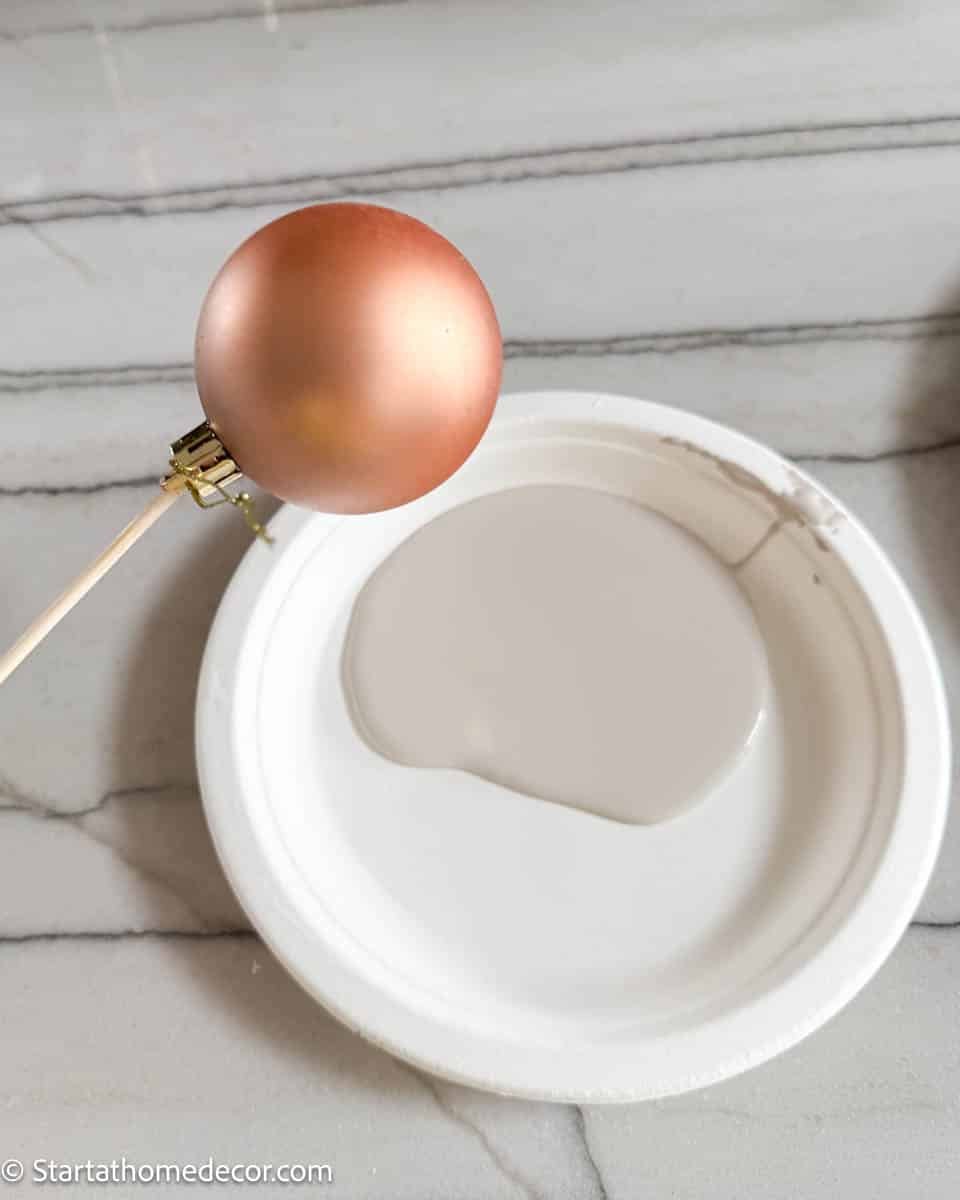
Step 2: Prep Your Ornaments on Skewers
Push each ornament onto a wooden skewer or dowel. This makes painting so much easier and gives you full control without smudging the finish.
Stick the skewers into the pitcher or foam or a cardboard box so your ornaments can stand upright while drying.
Step 3: Paint with Chalk Paint — 3 Coats
Chalk paint works best because it grips the ornament surface and gives that matte, designer-looking finish.
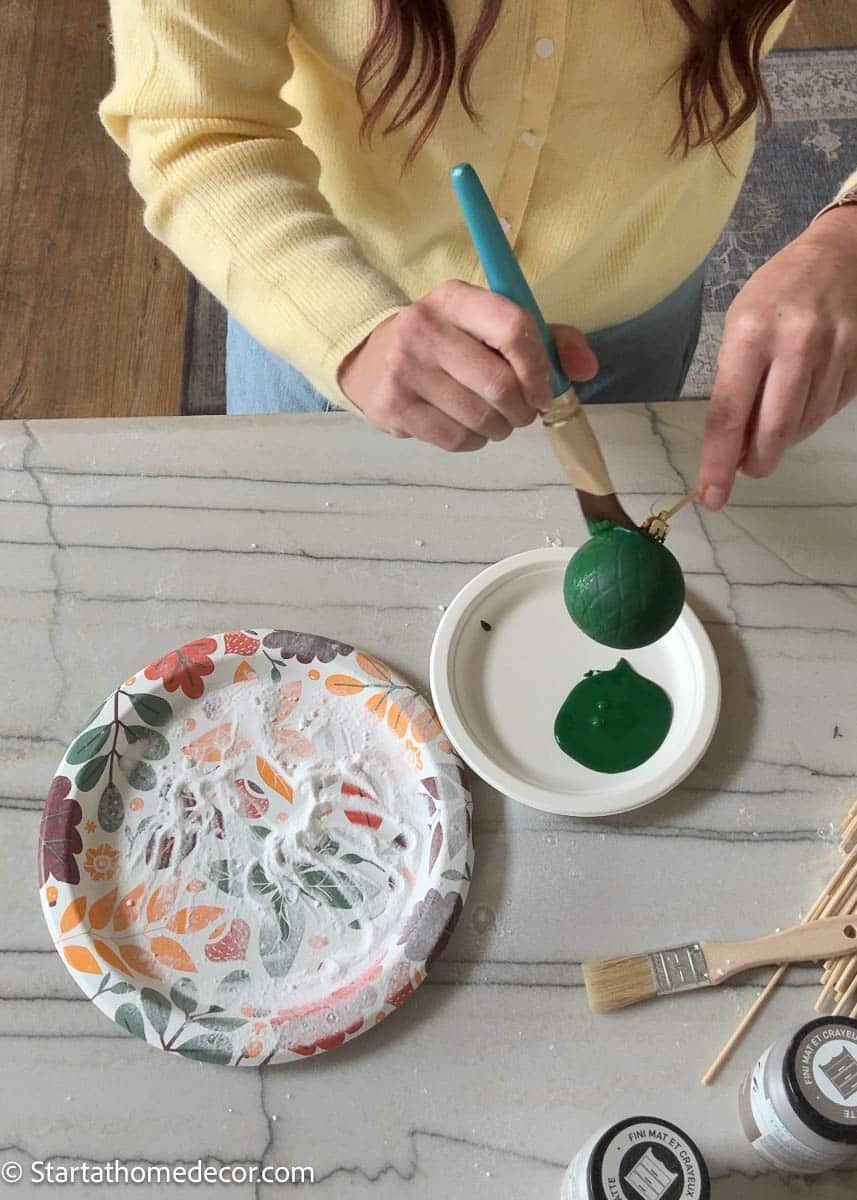
- Paint the first coat and let it fully dry.
- Add the second coat and let dry again.
- For the third coat, don’t let it dry — this is where the magic happens!
I used three coats for the perfect finish, but you can add more if you want extra texture.
Step 4: While the Last Coat Is Wet… Sprinkle Baking Soda
Before the final coat dries, lightly sprinkle baking soda right onto the wet paint. You’ll see the texture start to form instantly! Blow the extra baking soda off.
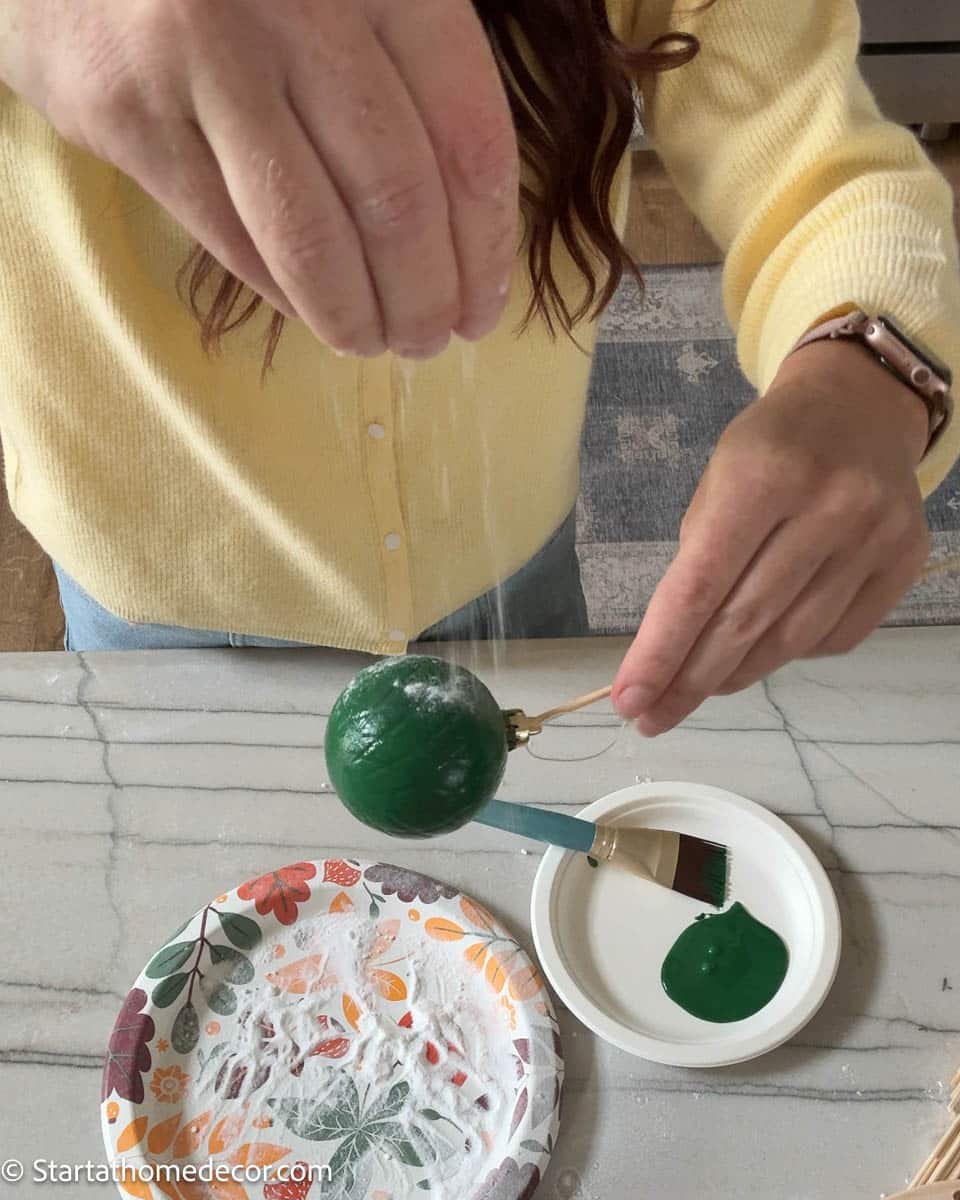
This creates that high-end, ceramic-style, old-world designer look that’s been all over Pinterest lately. The texture is soft, subtle, and so beautiful on a Christmas tree.
Let the ornaments stay on the skewers until they are completely dry.
Step 5: Optional — Seal for Longevity
If your ornaments will get a lot of handling or you want them to last for years, spray them with a matte clear topcoat once fully dry. This helps protect the paint and keeps the baking-soda texture intact.

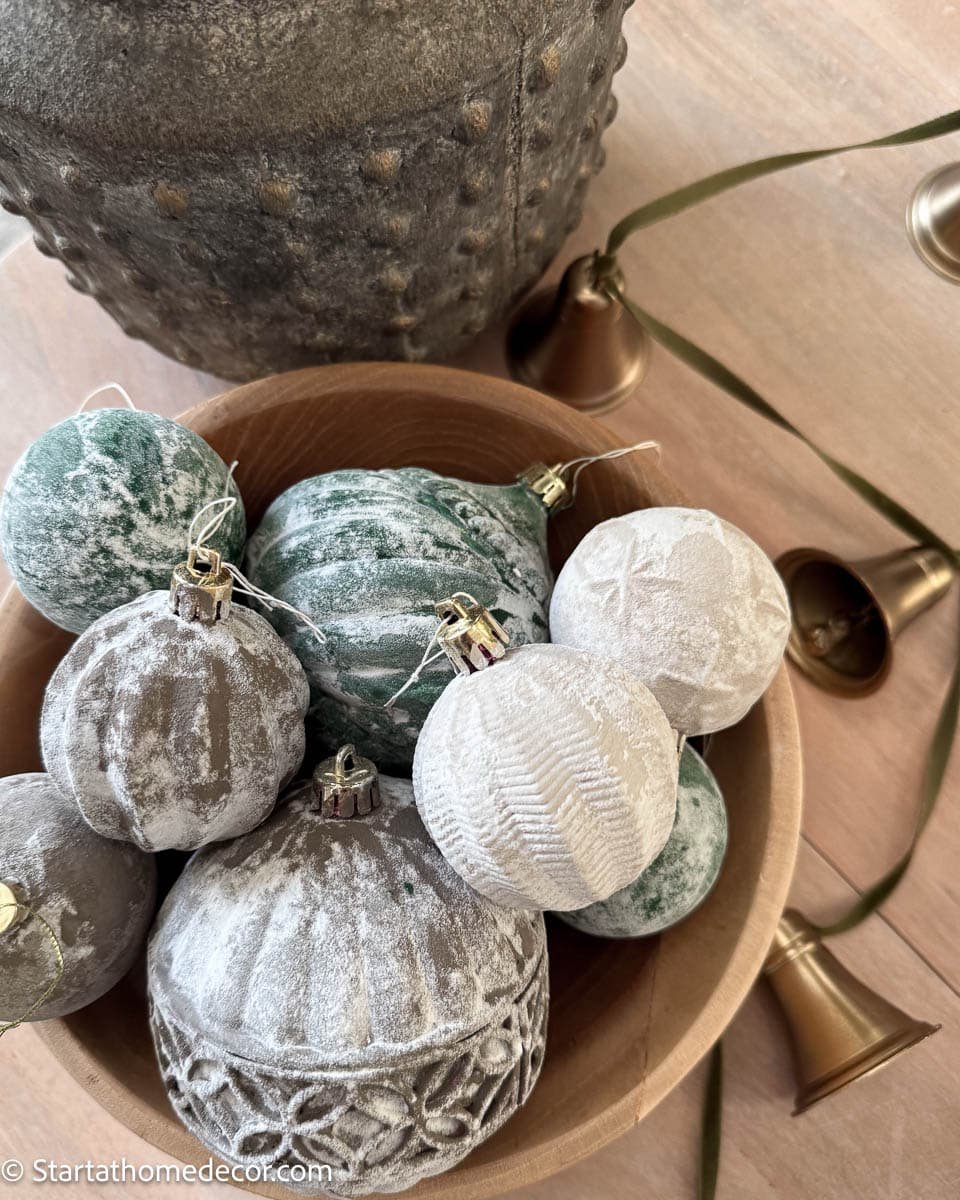
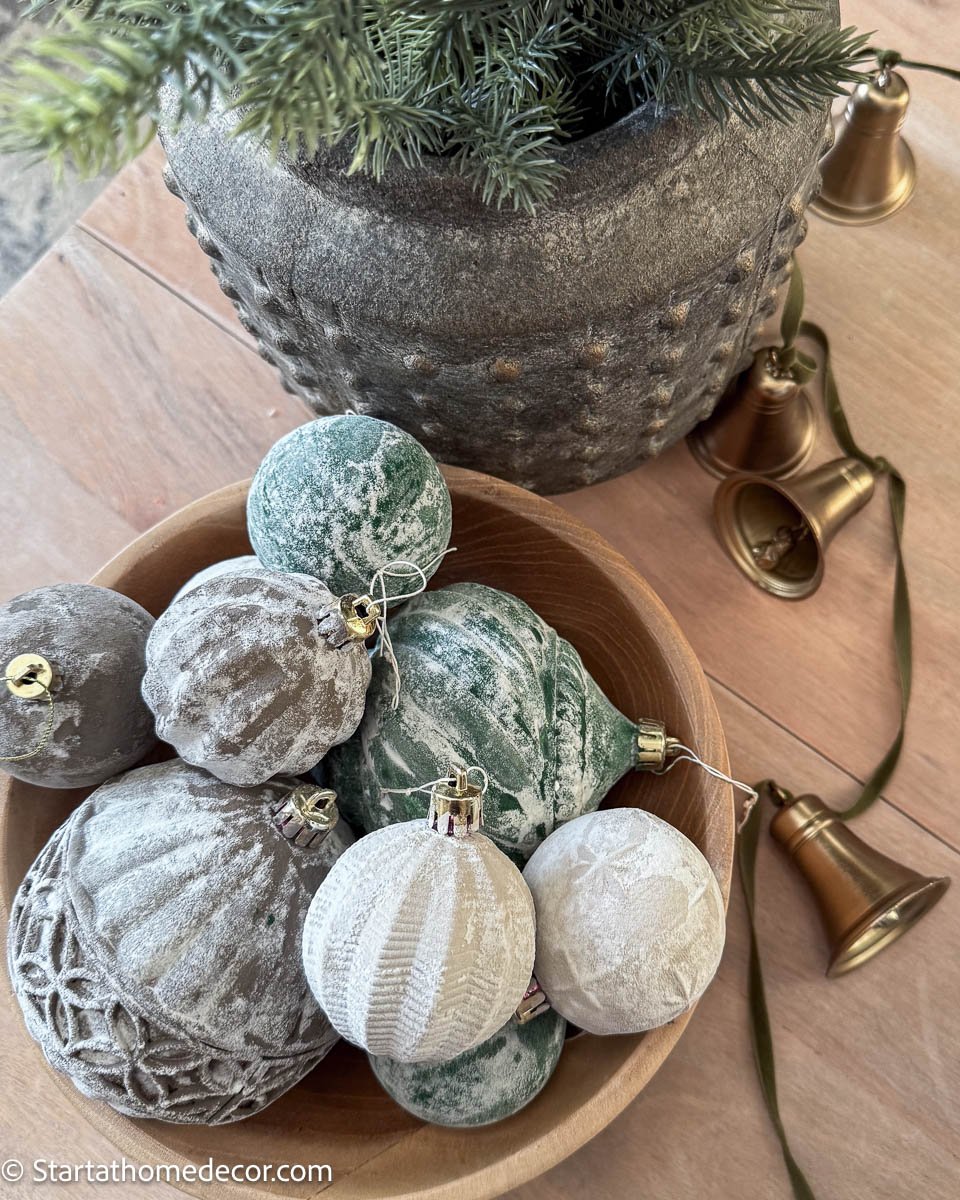
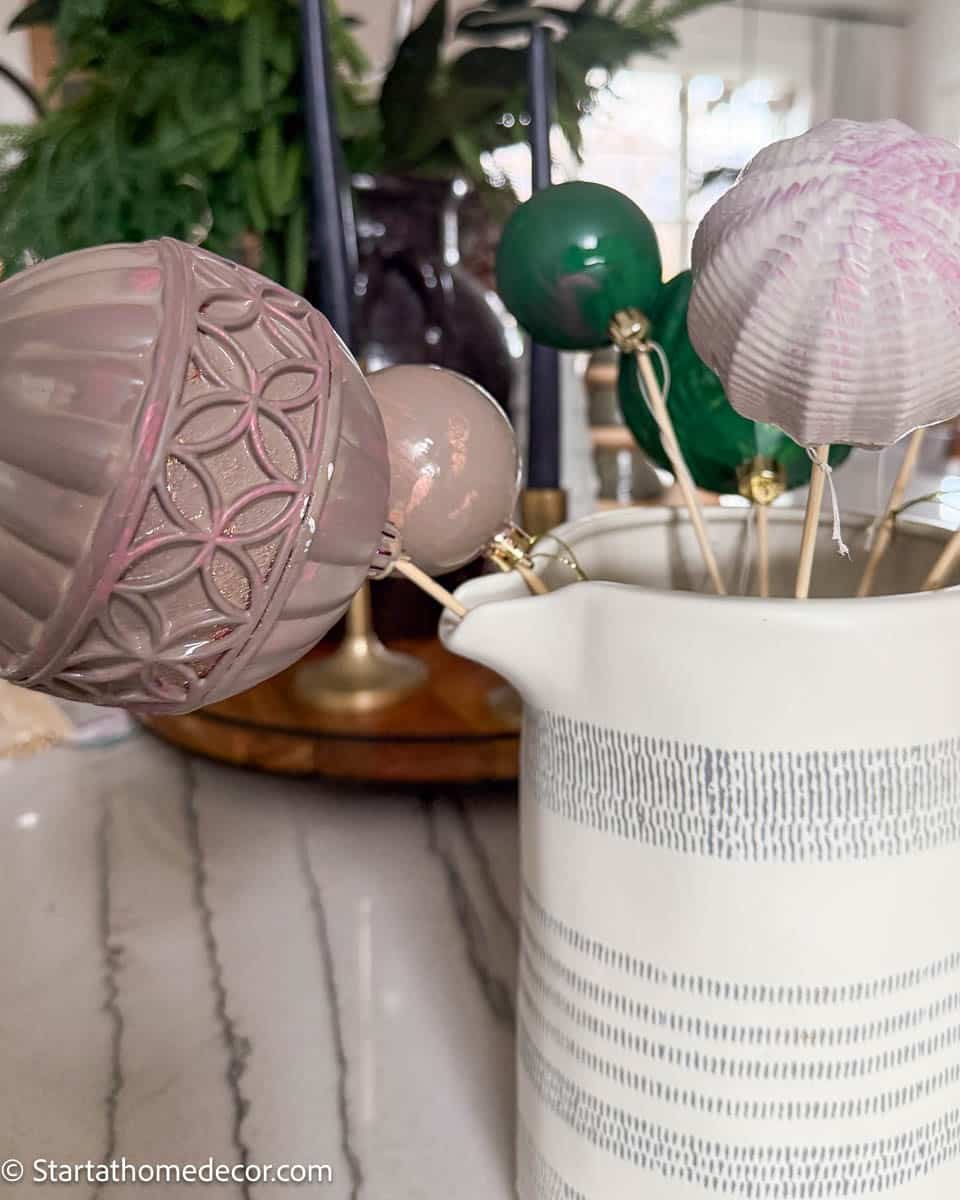
Style Your New Designer Ornaments
Once they’re ready, add them to your tree, bowl fillers, garlands, or wreaths. They look especially stunning in neutral, Scandinavian, farmhouse, or modern holiday décor — and no one will ever guess they started out as old, shiny ornaments.

This is truly one of the easiest Christmas DIYs, and it transforms basic ornaments into something that feels custom and high-end.
More DIY Ornament Ideas to Try
If you’re already painting ornaments, here are a few more ways to elevate old or inexpensive pieces and give your tree a custom, high-end look.
- Rub-and-Buff is AMAZING when you want a soft, aged metallic finish without the harsh shine of traditional spray paint.
- Add Ribbon Tails for a Boutique Look. Use velvet, satin, or gauze-style ribbon for maximum impact.
- Add in stems and ribbon as fillers.
The Magic of Simple, Designer-Inspired DIYs
Creating designer-inspired ornaments doesn’t have to be expensive — sometimes all it takes is a little paint, a sprinkle of baking soda, and a touch of creativity. Whether you’re refreshing old ornaments, adding a soft metallic rub-and-buff finish, or styling your tree with new textures and ribbons, these simple DIYs bring so much personality and charm to your holiday decor.
I hope this inspires you to look at your old Christmas bins with fresh eyes and transform them into something beautiful. Have fun crafting, enjoy the magic of the season, and let your tree shine in its one-of-a-kind, custom-designed style!
Happy DIY-ing
Brooke


Leave a Reply